Running Any AI Agent on Kubernetes: Step-by-Step
Source: Dev.to
Prerequisites
To follow along with this guide, you should have:
- A Kubernetes cluster with kagent installed. If you haven’t installed kagent yet, see the how‑to guide here.
- Python 3.10 or newer.
- Docker Desktop (or the Docker engine) installed to build container images.
What Are BYO Agents
BYO (Bring Your Own) means you can create an Agent with any of the providers supported by kagent. Whether you write your Agent in Python using CrewAI, ADK, LangChain, or another framework, kagent lets you import it. The only additional step is to containerize the Agent, which is straightforward with a Dockerfile (see the example in the Creating an Agent section).
Building an Agent
The following sections walk you through building a custom Agent with the Agent Development Kit (ADK) and using an existing Agent as a reference.
Creating an Agent
-
Install the Google ADK library (use
pip3if needed):pip install google-adk -
Scaffold a new ADK Agent:
adk create NAME_OF_YOUR_AGENTThis creates a directory
adk/NAME_OF_YOUR_AGENTwith a starter template. -
Run the scaffolded Agent to verify it works:
cd adk/NAME_OF_YOUR_AGENT && adk run NAME_OF_YOUR_AGENT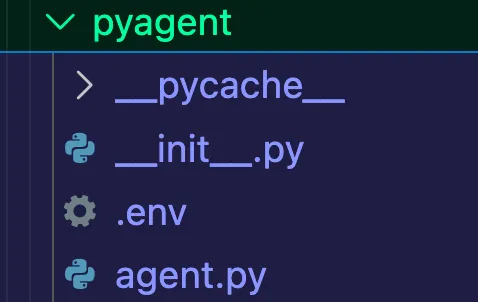
Using an Existing Agent
To simplify the process, you can start from a pre‑built Agent repository.
-
Clone the demo repository and navigate to the ADK example:
git clone https://github.com/thenjdevopsguy/agentic-demo-code.git cd agentic-demo-code/adk/troubleshoot-agent -
Review the provided
Dockerfile:# STAGE 1: base image ARG DOCKER_REGISTRY=ghcr.io ARG VERSION=0.7.4 FROM $DOCKER_REGISTRY/kagent-dev/kagent/kagent-adk:$VERSION WORKDIR /app COPY troubleshootagent/ troubleshootagent/ COPY pyproject.toml pyproject.toml COPY uv.lock uv.lock COPY how-it-works.md how-it-works.md RUN uv sync --locked --refresh CMD ["troubleshootagent"] -
Build the container image:
docker build . -t troubleshootagent:latestIf you encounter an error about
uv sync, generate a lock file first:uv lockAfter a successful build you’ll see something like:
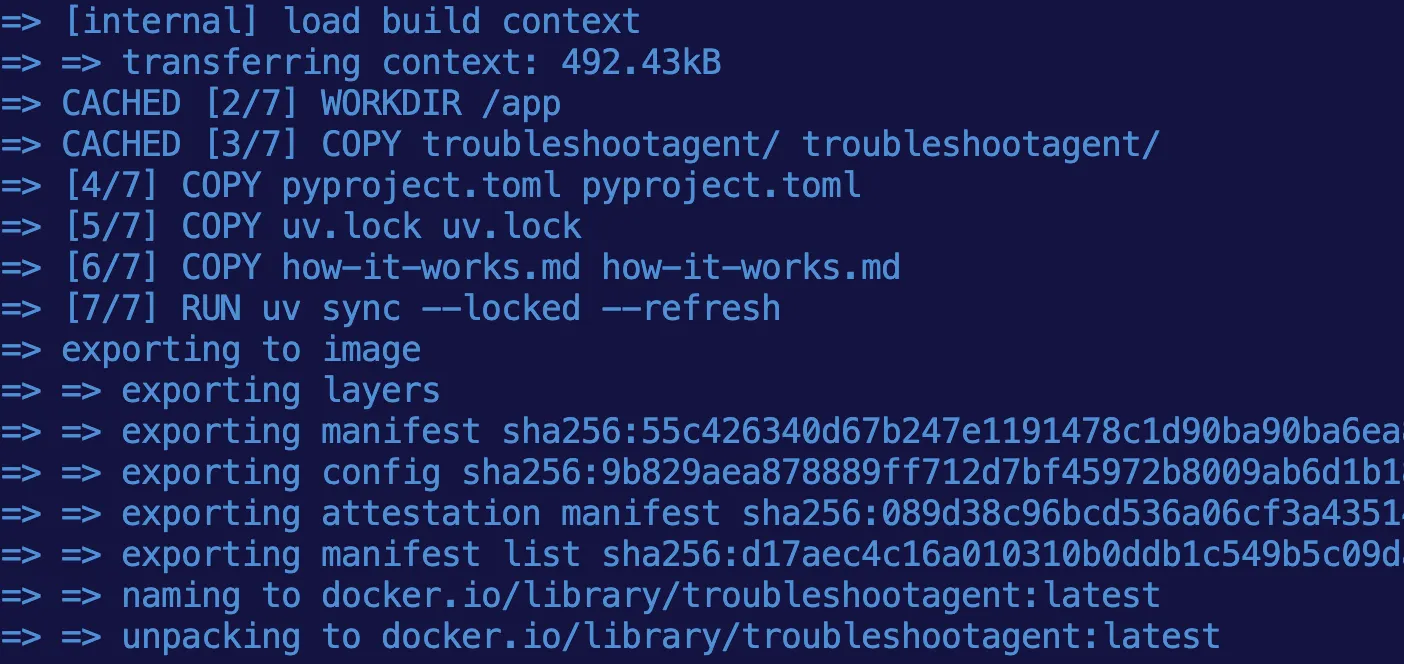
-
Push the image to a registry (Docker Hub is free; the example uses a GitHub Container Registry):
docker tag troubleshootagent:latest adminturneddevops/troubleshootagent:latest
docker push adminturneddevops/troubleshootagent:latest
If you prefer not to push the image, you can still reference
adminturneddevops/troubleshootagent:latestin the next step, as the image is public.
Deploying an Agent on Kubernetes
With the container image ready, deploy it declaratively using kagent’s CRDs.
-
Set up LLM credentials (the example uses Google Gemini; replace with your provider as needed):
export GOOGLE_API_KEY=YOUR_API_KEY_HERE -
Create a Kubernetes Secret to store the API key:
apiVersion: v1
kind: Secret
metadata:
  name: kagent-google
  namespace: kagent
type: Opaque
stringData:
  GOOGLE_API_KEY: $GOOGLE_API_KEY
Apply the secret:
kubectl apply -f- -
Define the Agent custom resource:
apiVersion: kagent.dev/v1alpha2
kind: Agent
metadata:
  name: troubleshoot-agent
  namespace: kagent
spec:
  description: Platform Engineering troubleshoot expert.
  type: BYO
  byo:
    deployment:
      image: adminturneddevops/troubleshootagent:latest
      env:
        - name: GOOGLE_API_KEY
          valueFrom:
            secretKeyRef:
              name: kagent-google
              key: GOOGLE_API_KEY
Apply the Agent manifest:
kubectl apply -f- -
Verify that the Agent pod is running in the
kagentnamespace:kubectl get pods -n kagentYou should see a pod similar to:
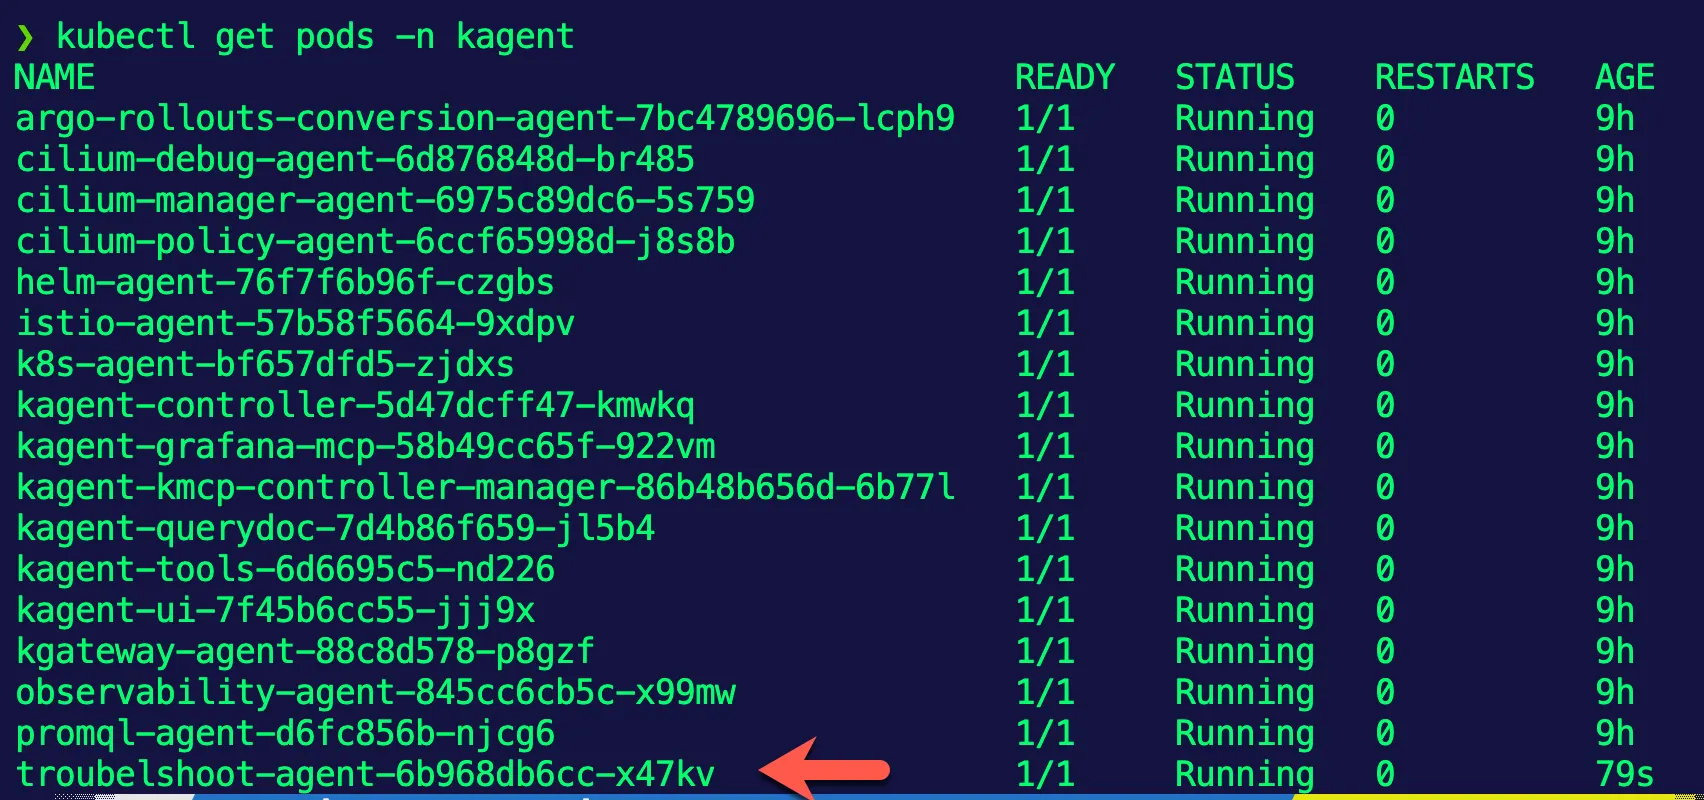
The Agent is now deployed and ready for use within kagent.