How to Build and Test iOS Apps on a Physical Phone: Adding Internal Testers (Part 3/5)
Published: (February 25, 2026 at 06:44 PM EST)
2 min read
Source: Dev.to
Source: Dev.to
Now we have submitted our app to the App Store in Step 2; it’s time to invite friends and family to use it!
Testers Setup
Everyone with an Apple ID can be invited to test on their phones. The phones’ UUIDs don’t need to be registered with Apple.
There are two types of testers:
- Internal – usually colleagues, but for solo/indie developers can be anyone you want to invite for each new build.
- External – testers outside your organization (covered in the next part).
Internal Testing
Step 1 – Add as a New User
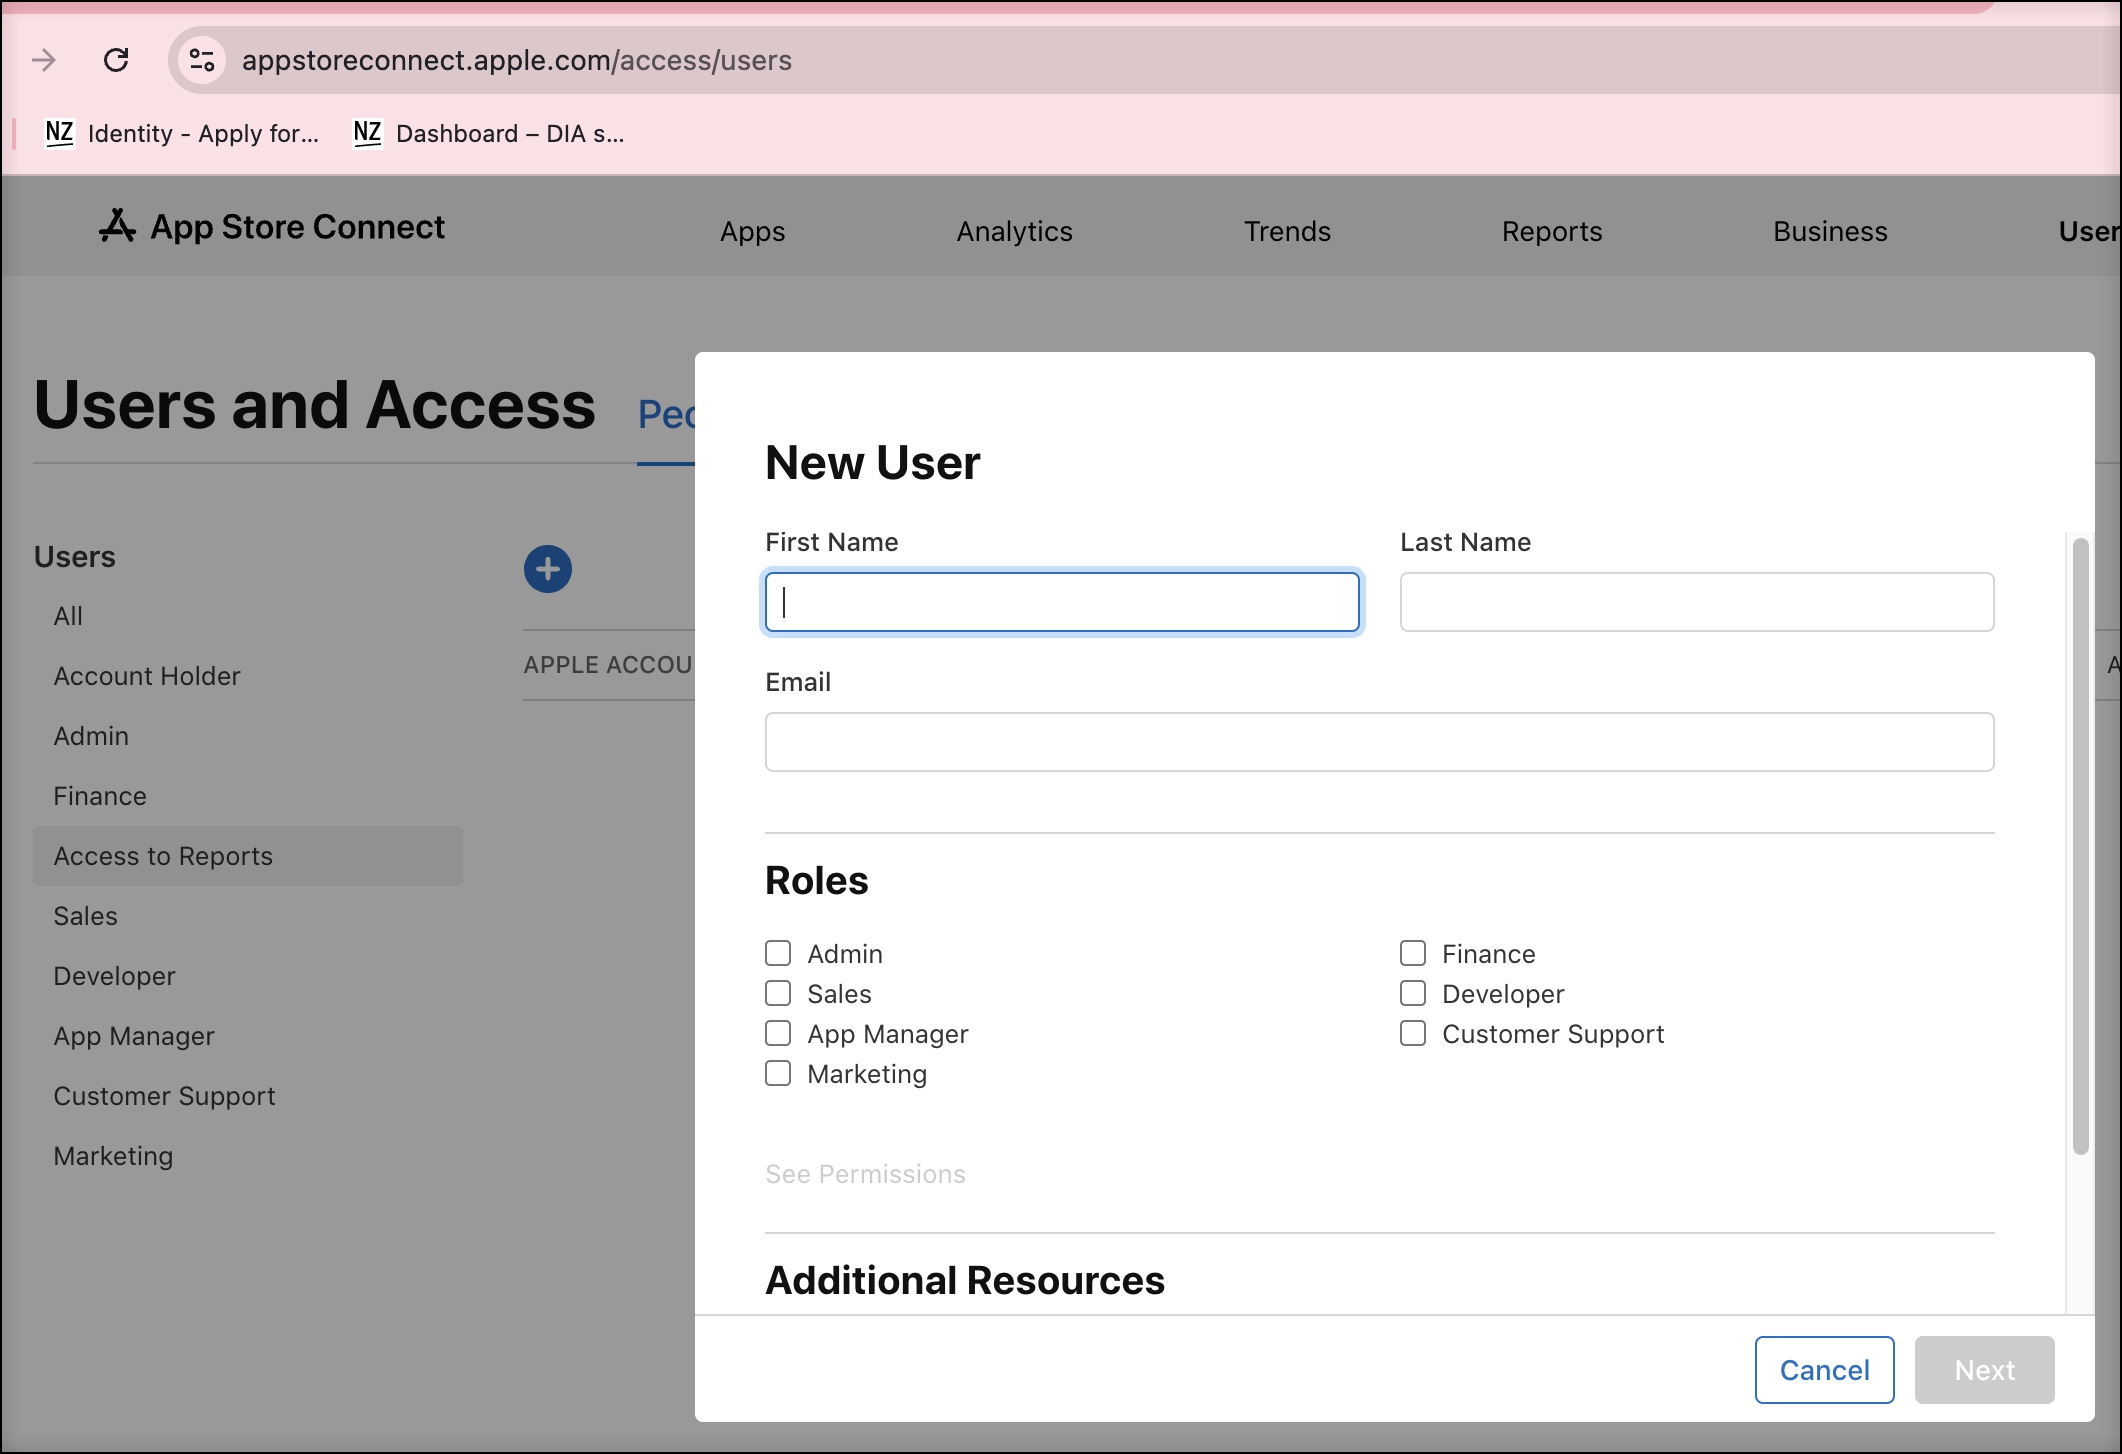
- Go to App Store Connect → Users and Access:
- Click Add User, fill in the friend’s details, and send the invitation.
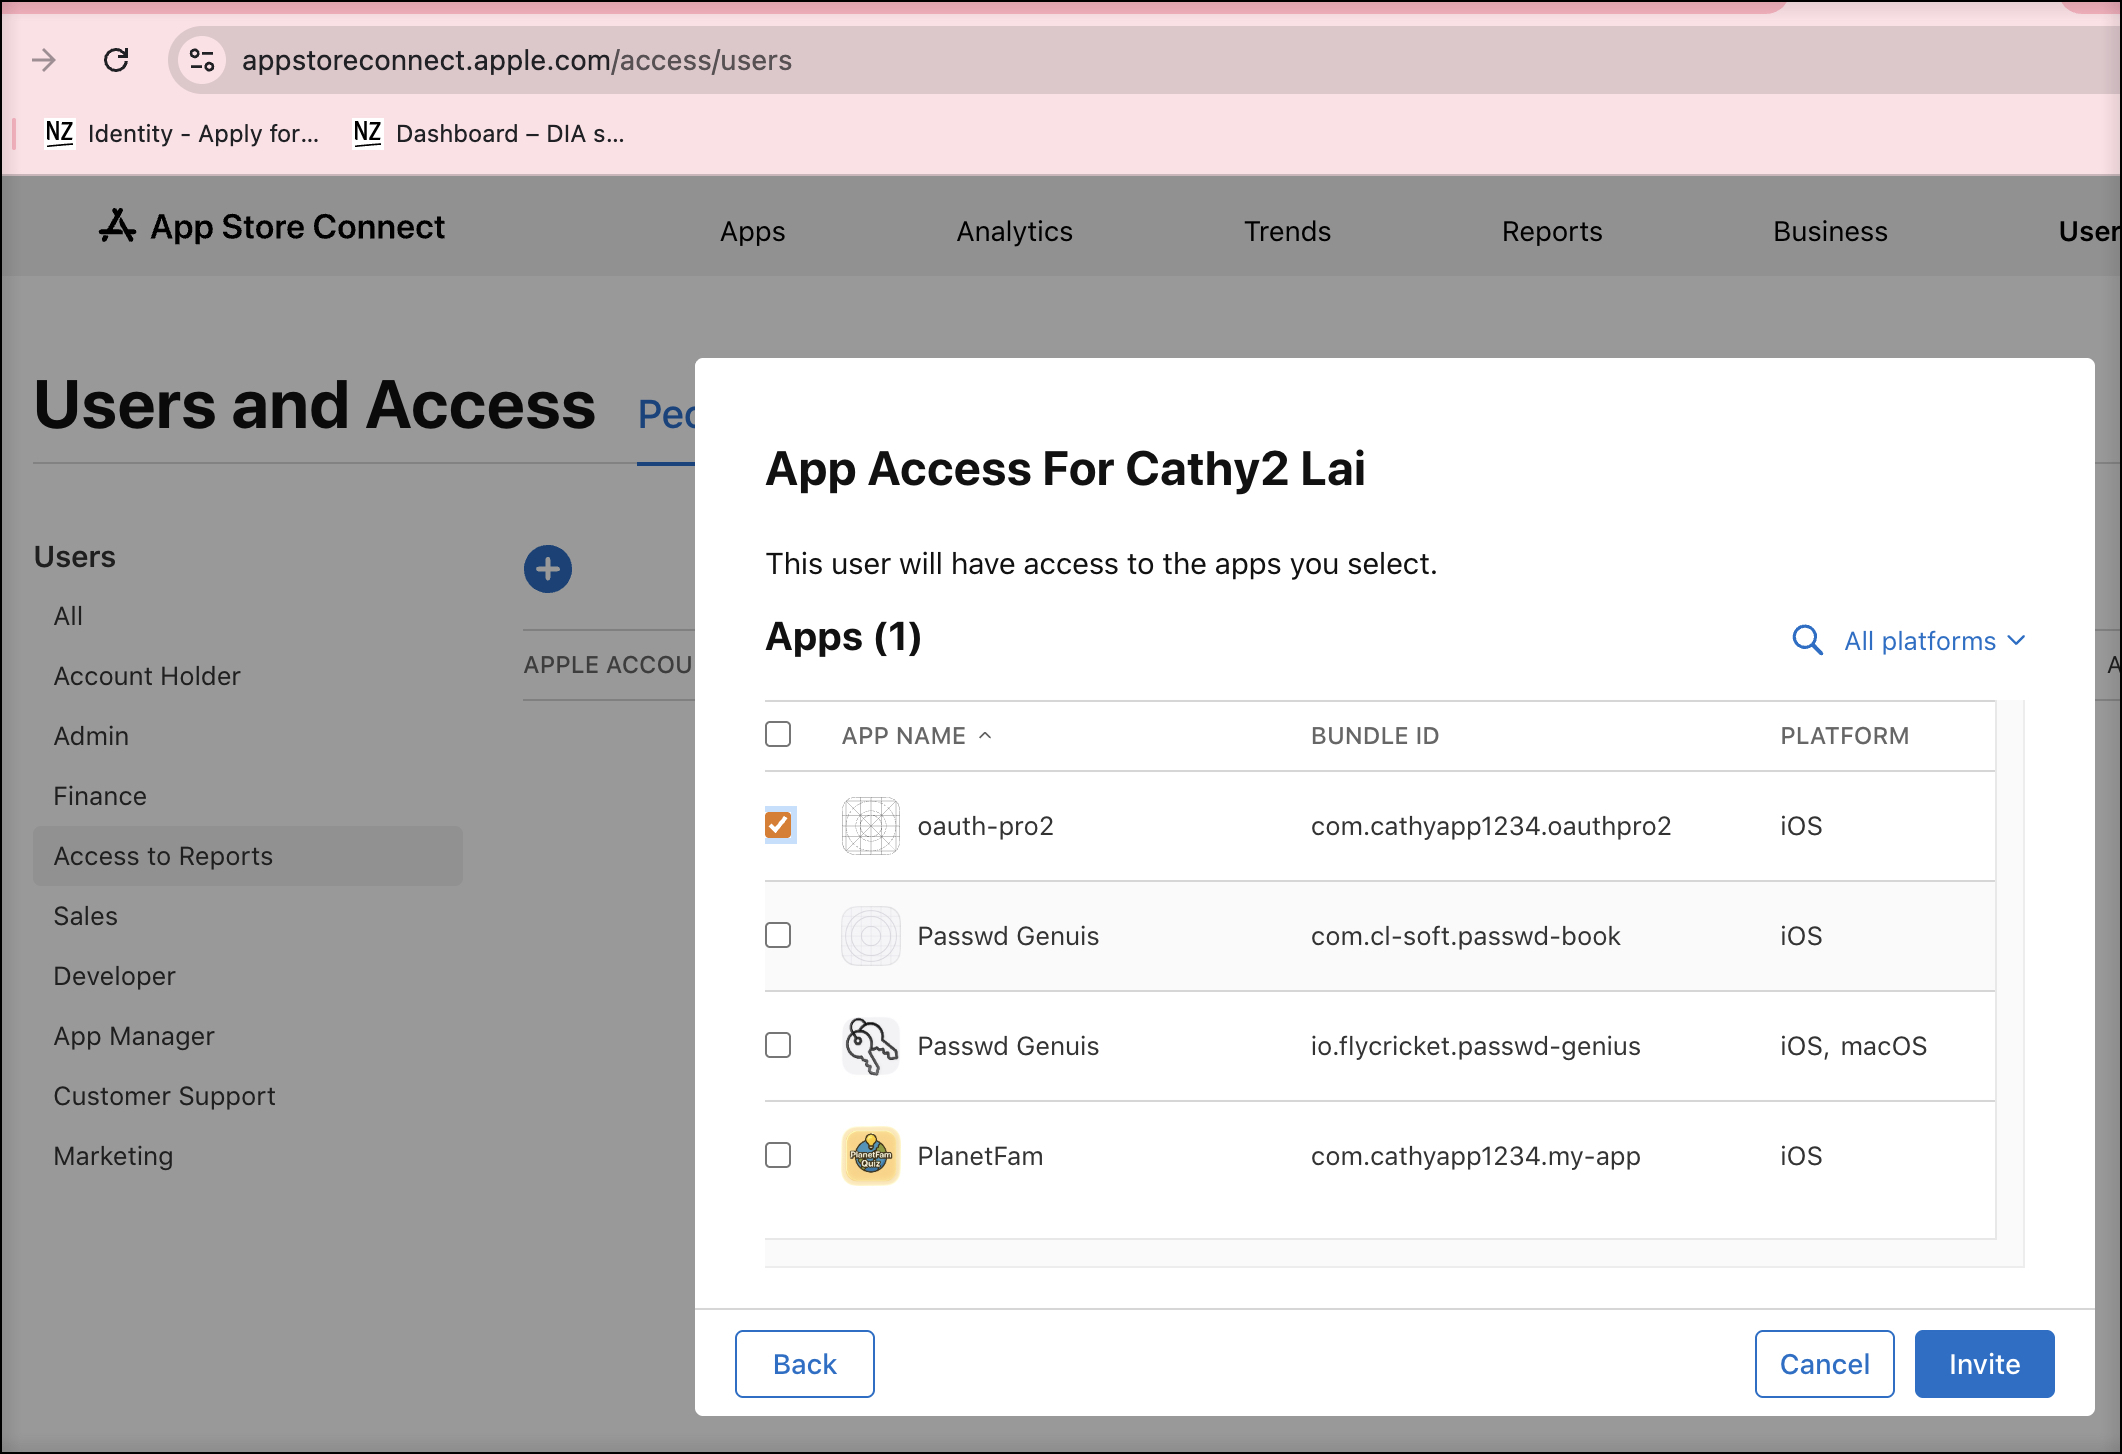
The friend will receive an email from the App Store.
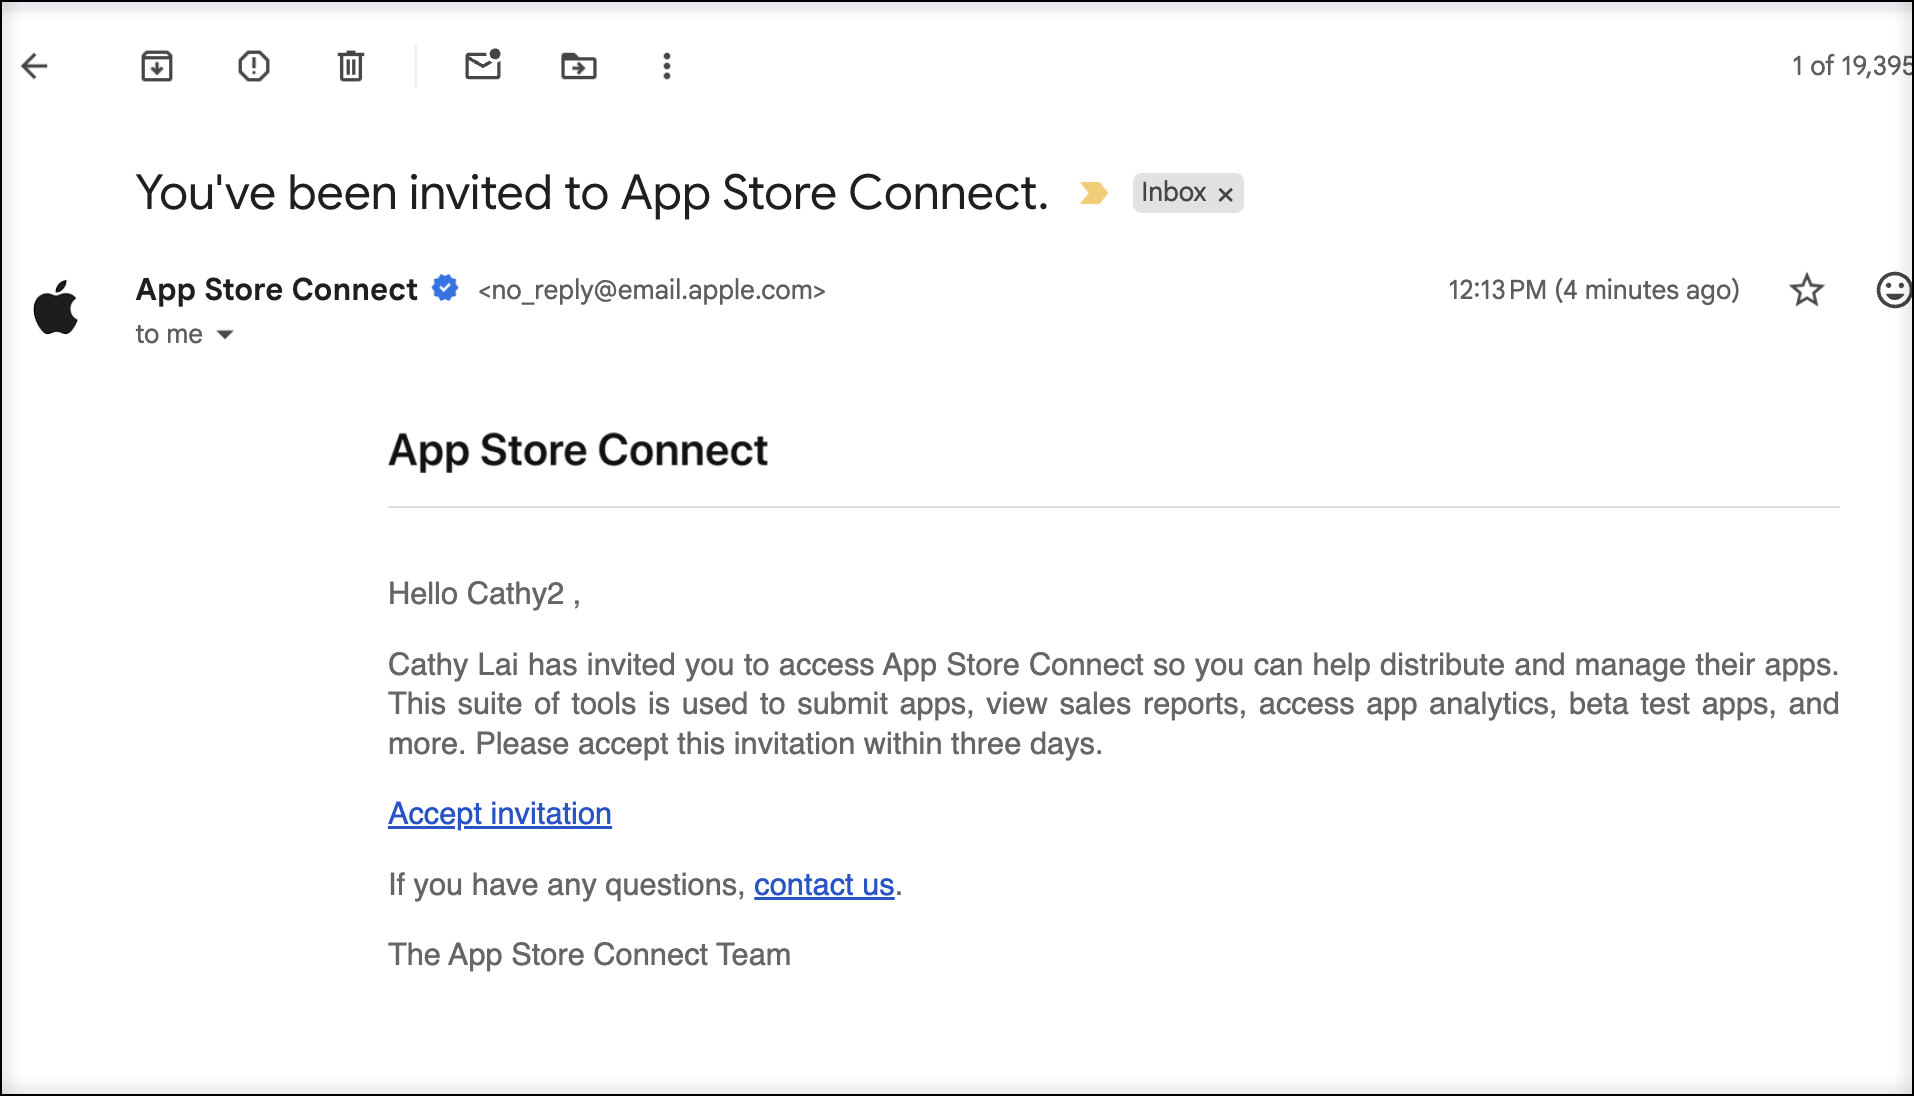
Step 2 – Accept the Invitation
When the email arrives, the tester clicks Accept.
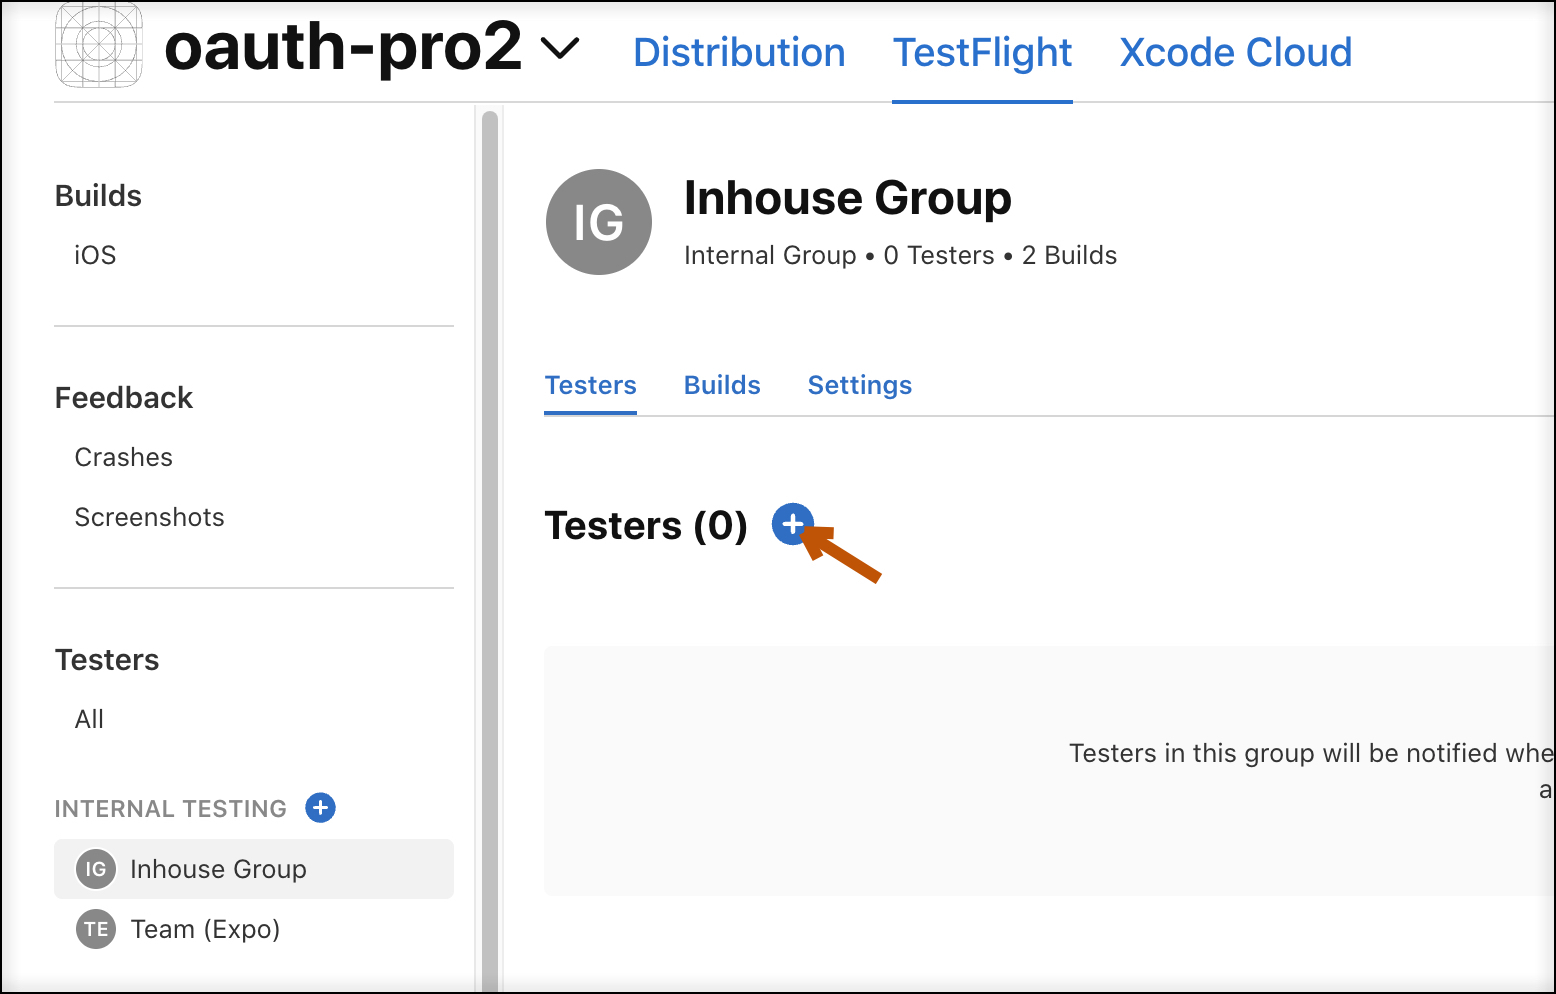
Step 3 – Add to an Internal Testers Group
- In App Store Connect, open your app and go to the TestFlight tab.
- Scroll to the top and Create a New Internal Group.
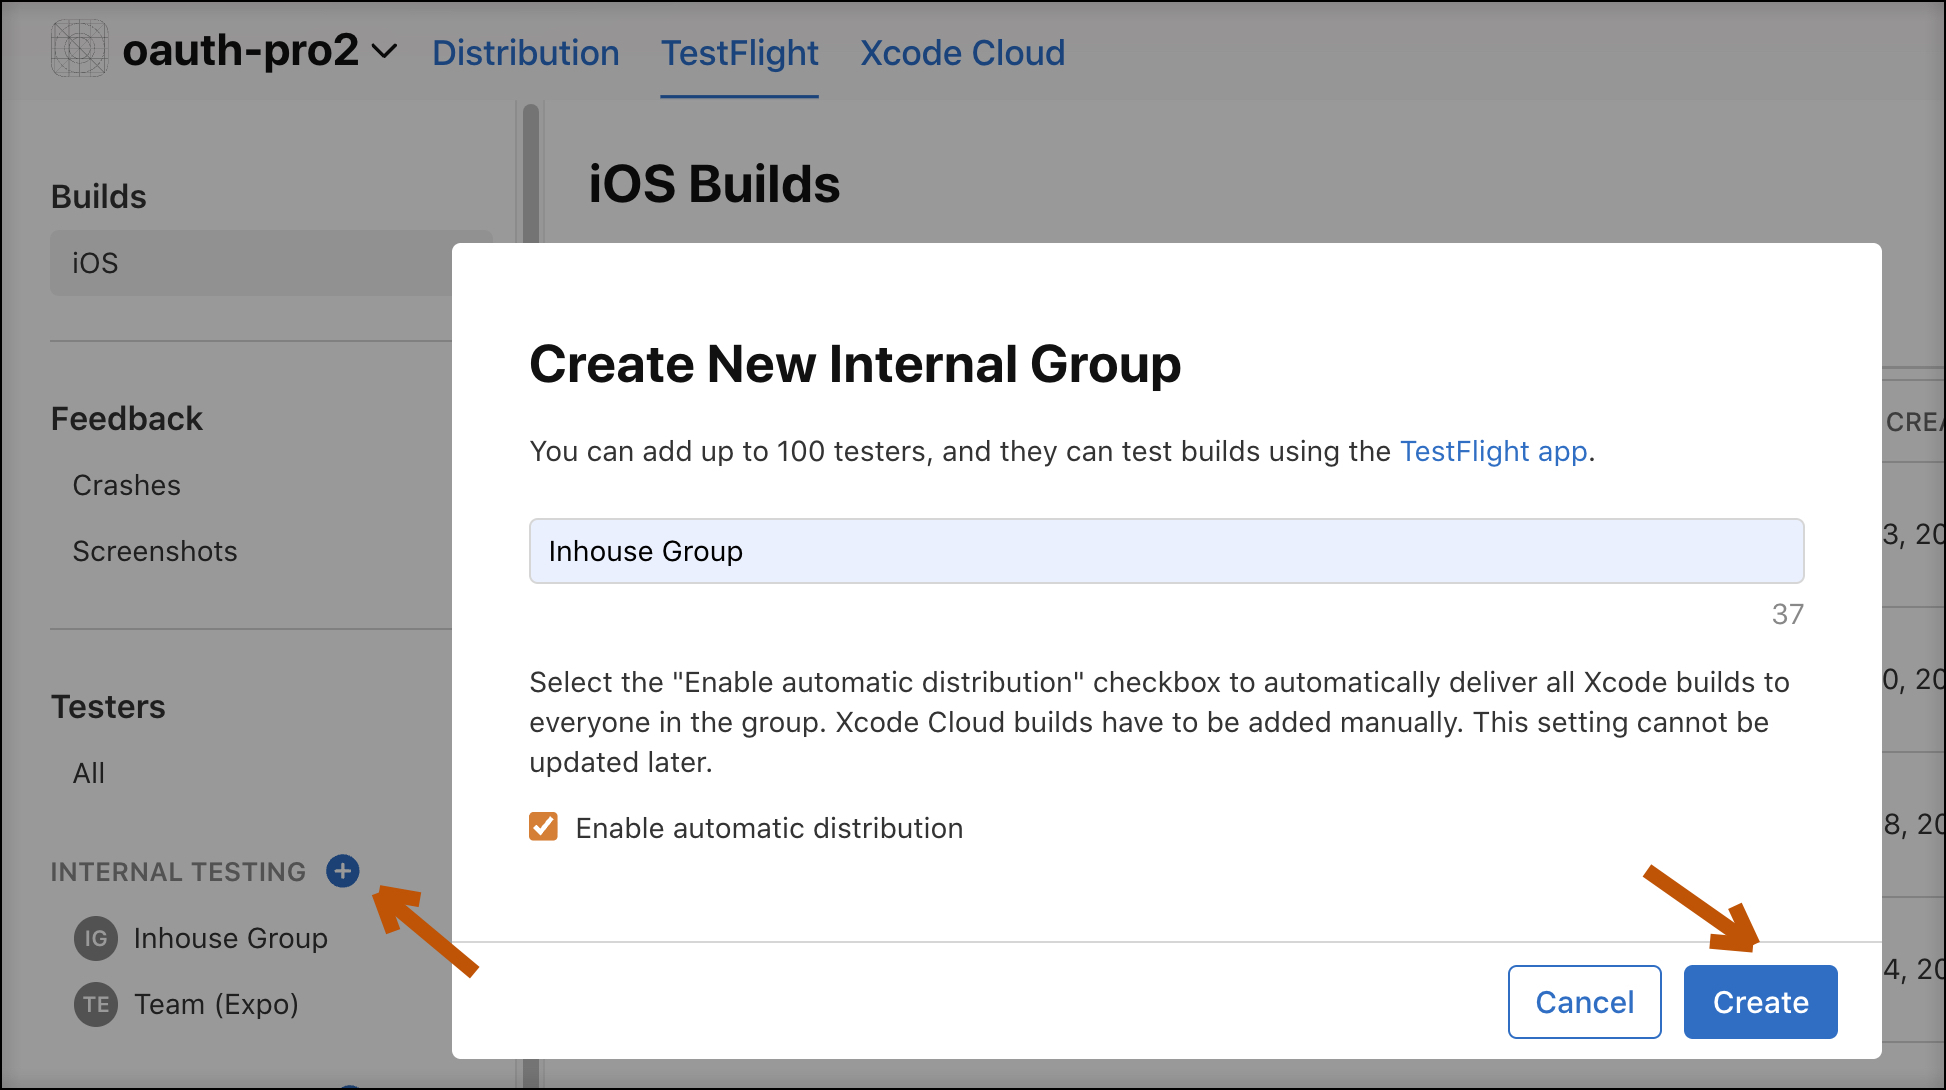
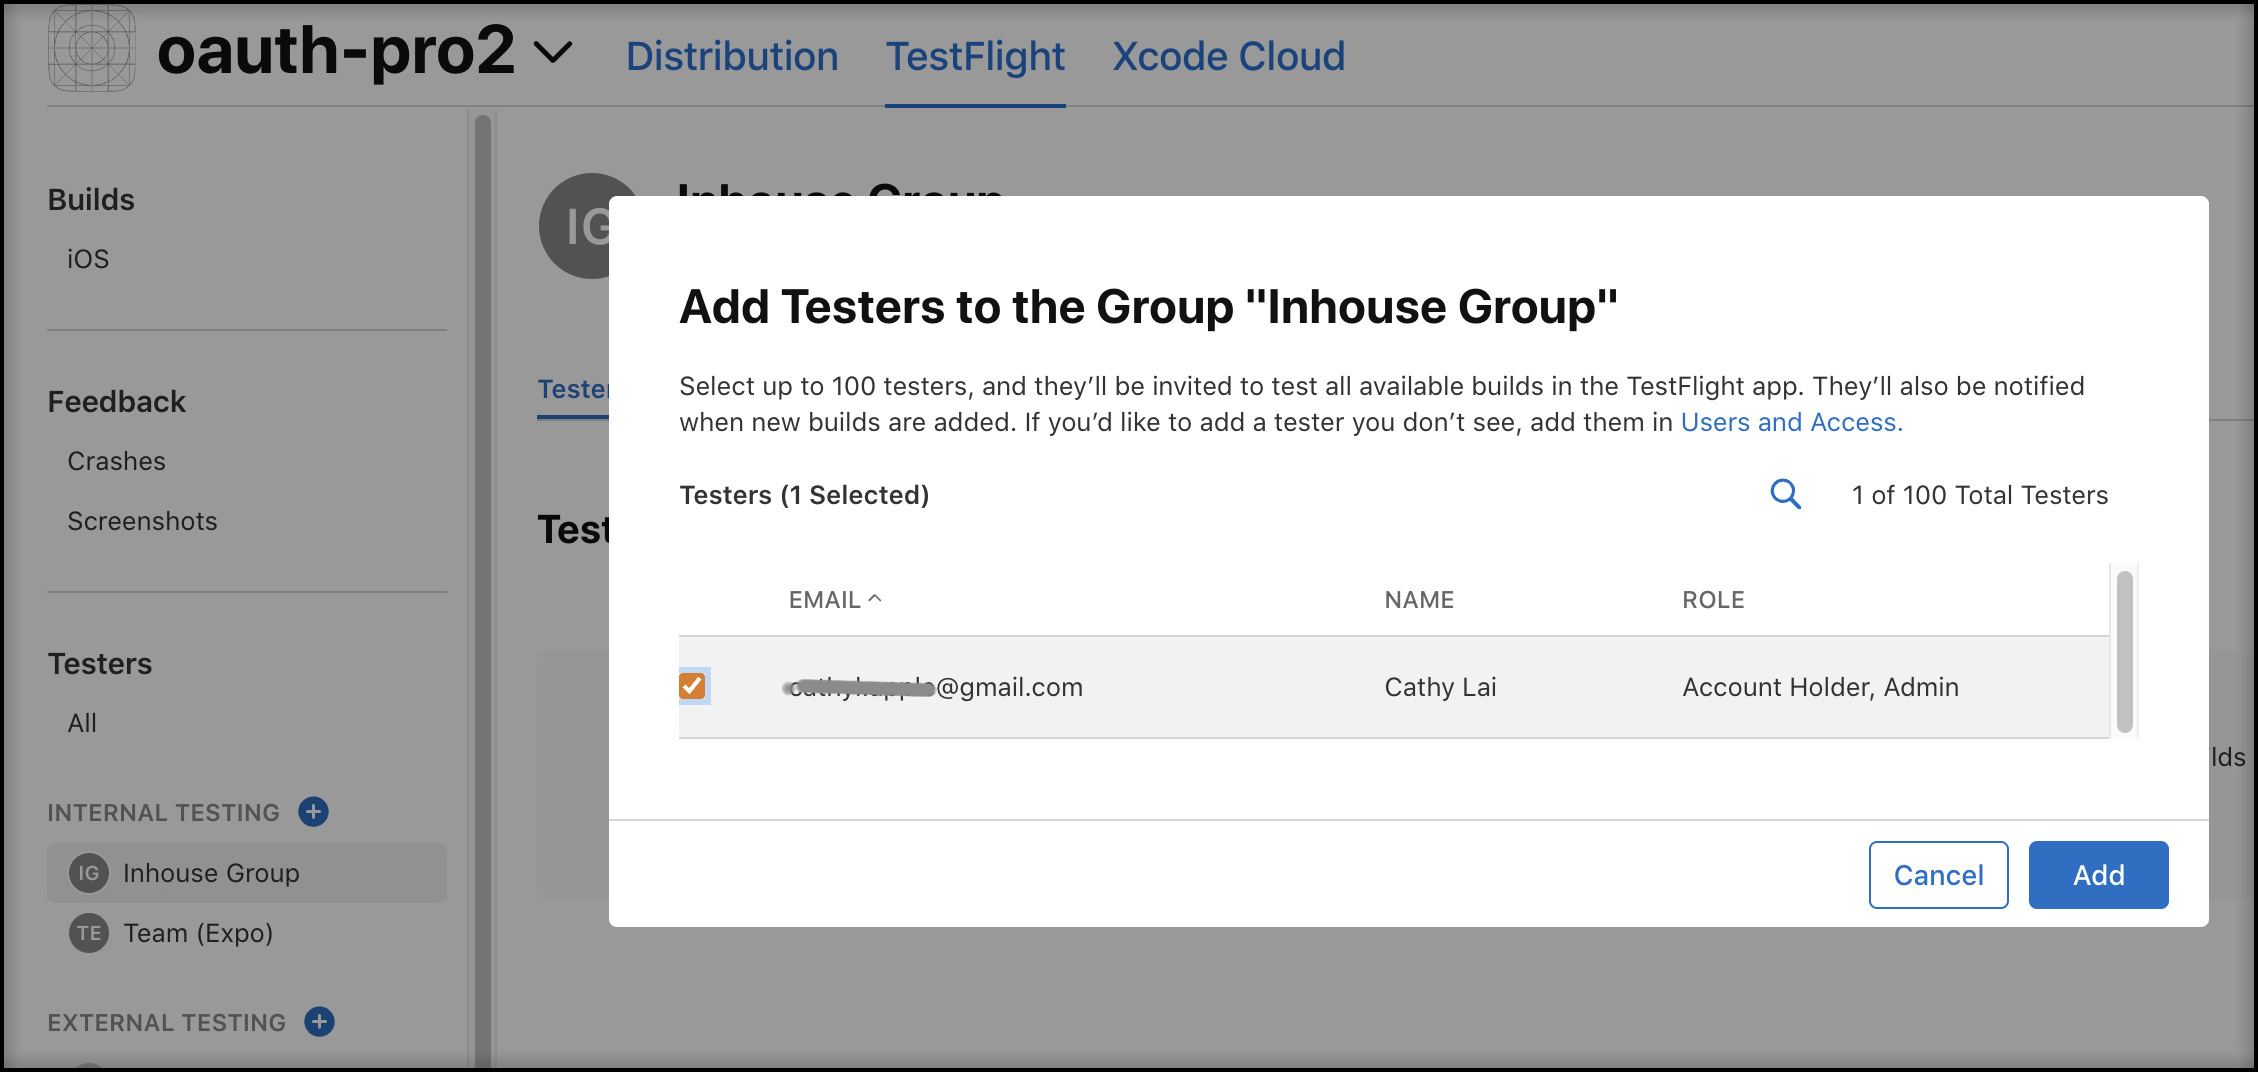
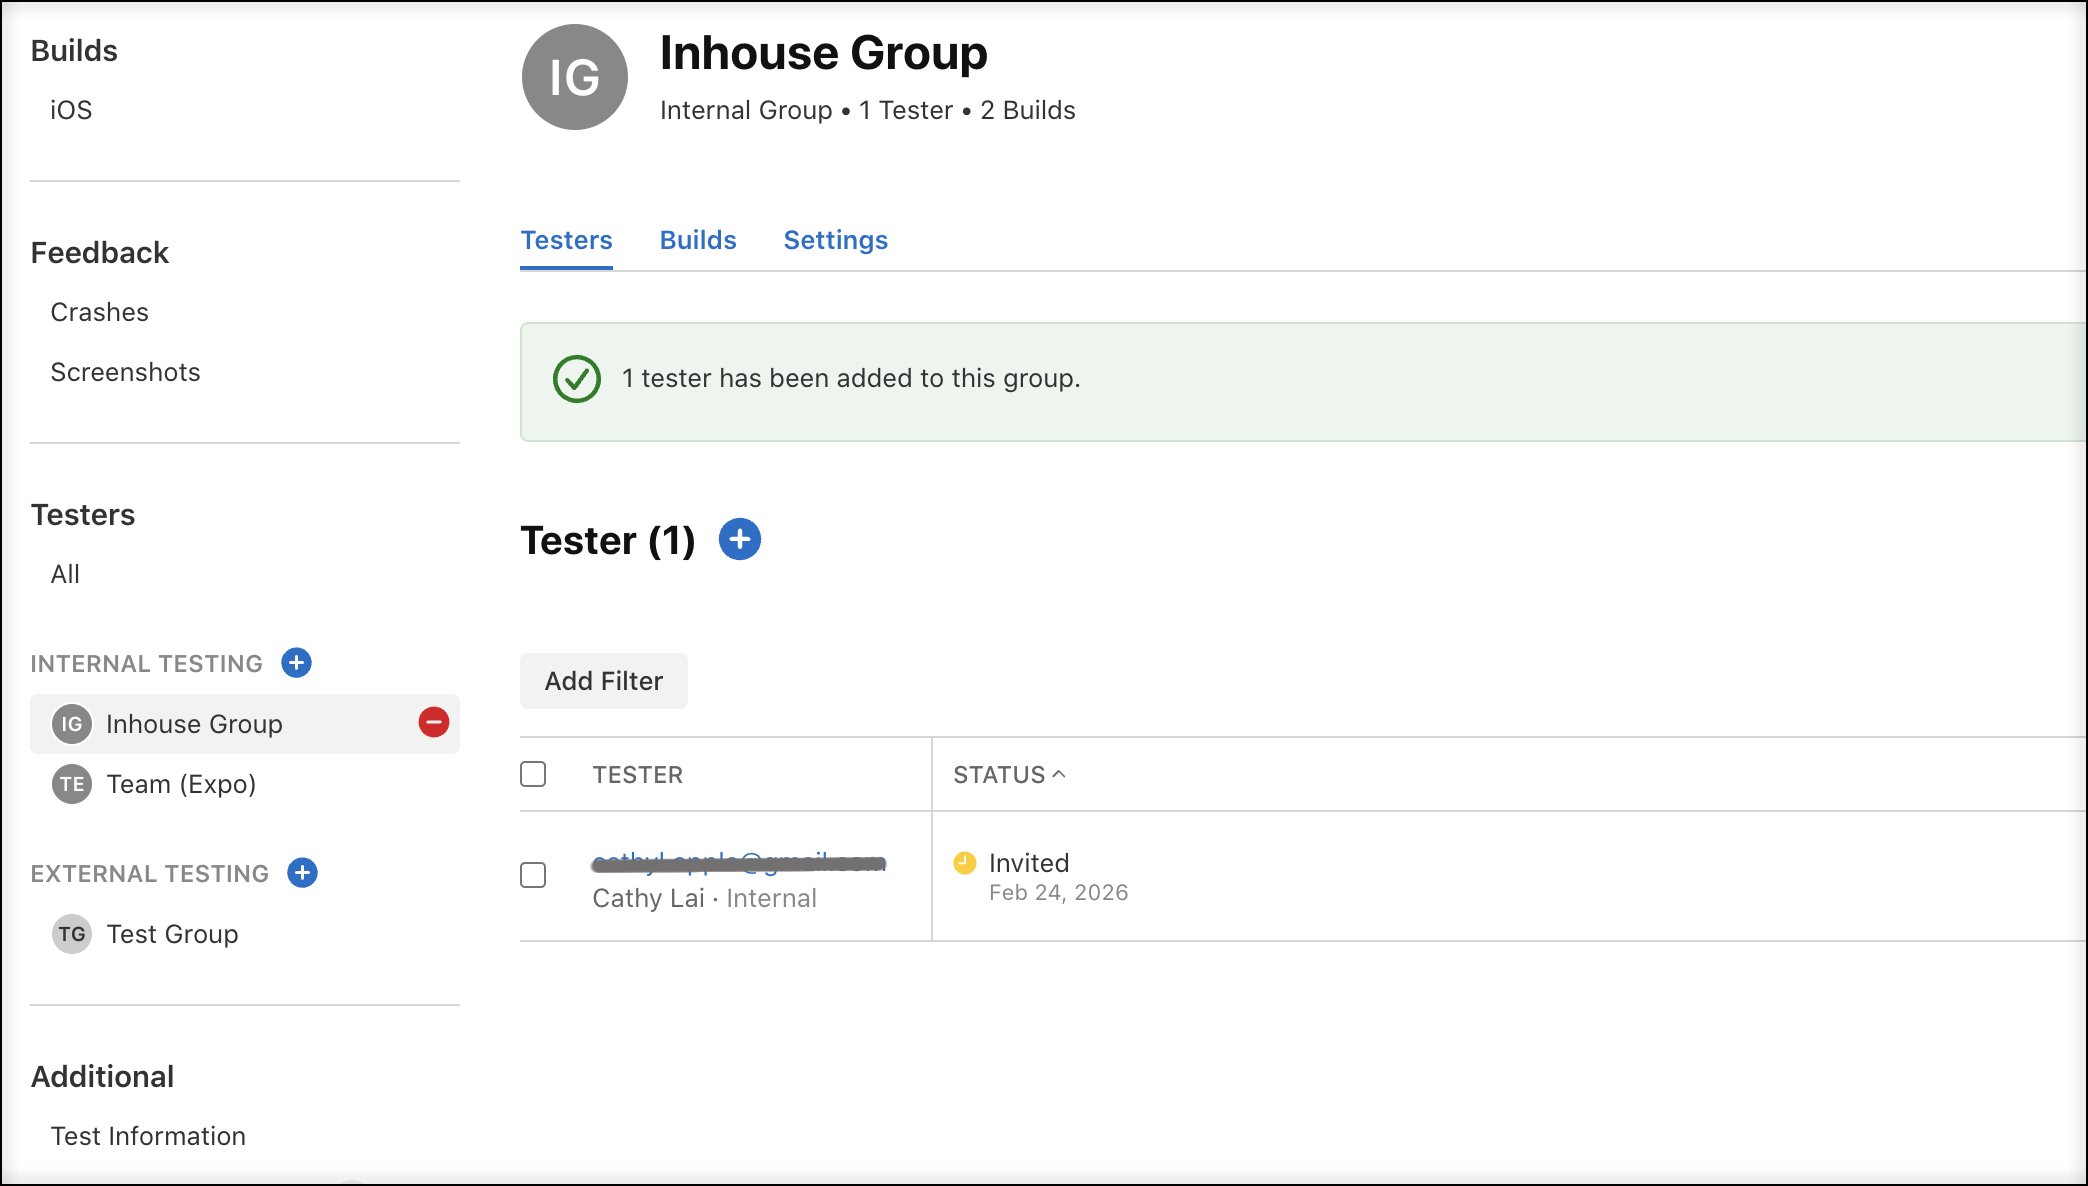
- Add the invited testers to the group.
- If this is the first build, provide a “What To Test” description in the build’s Test Information.
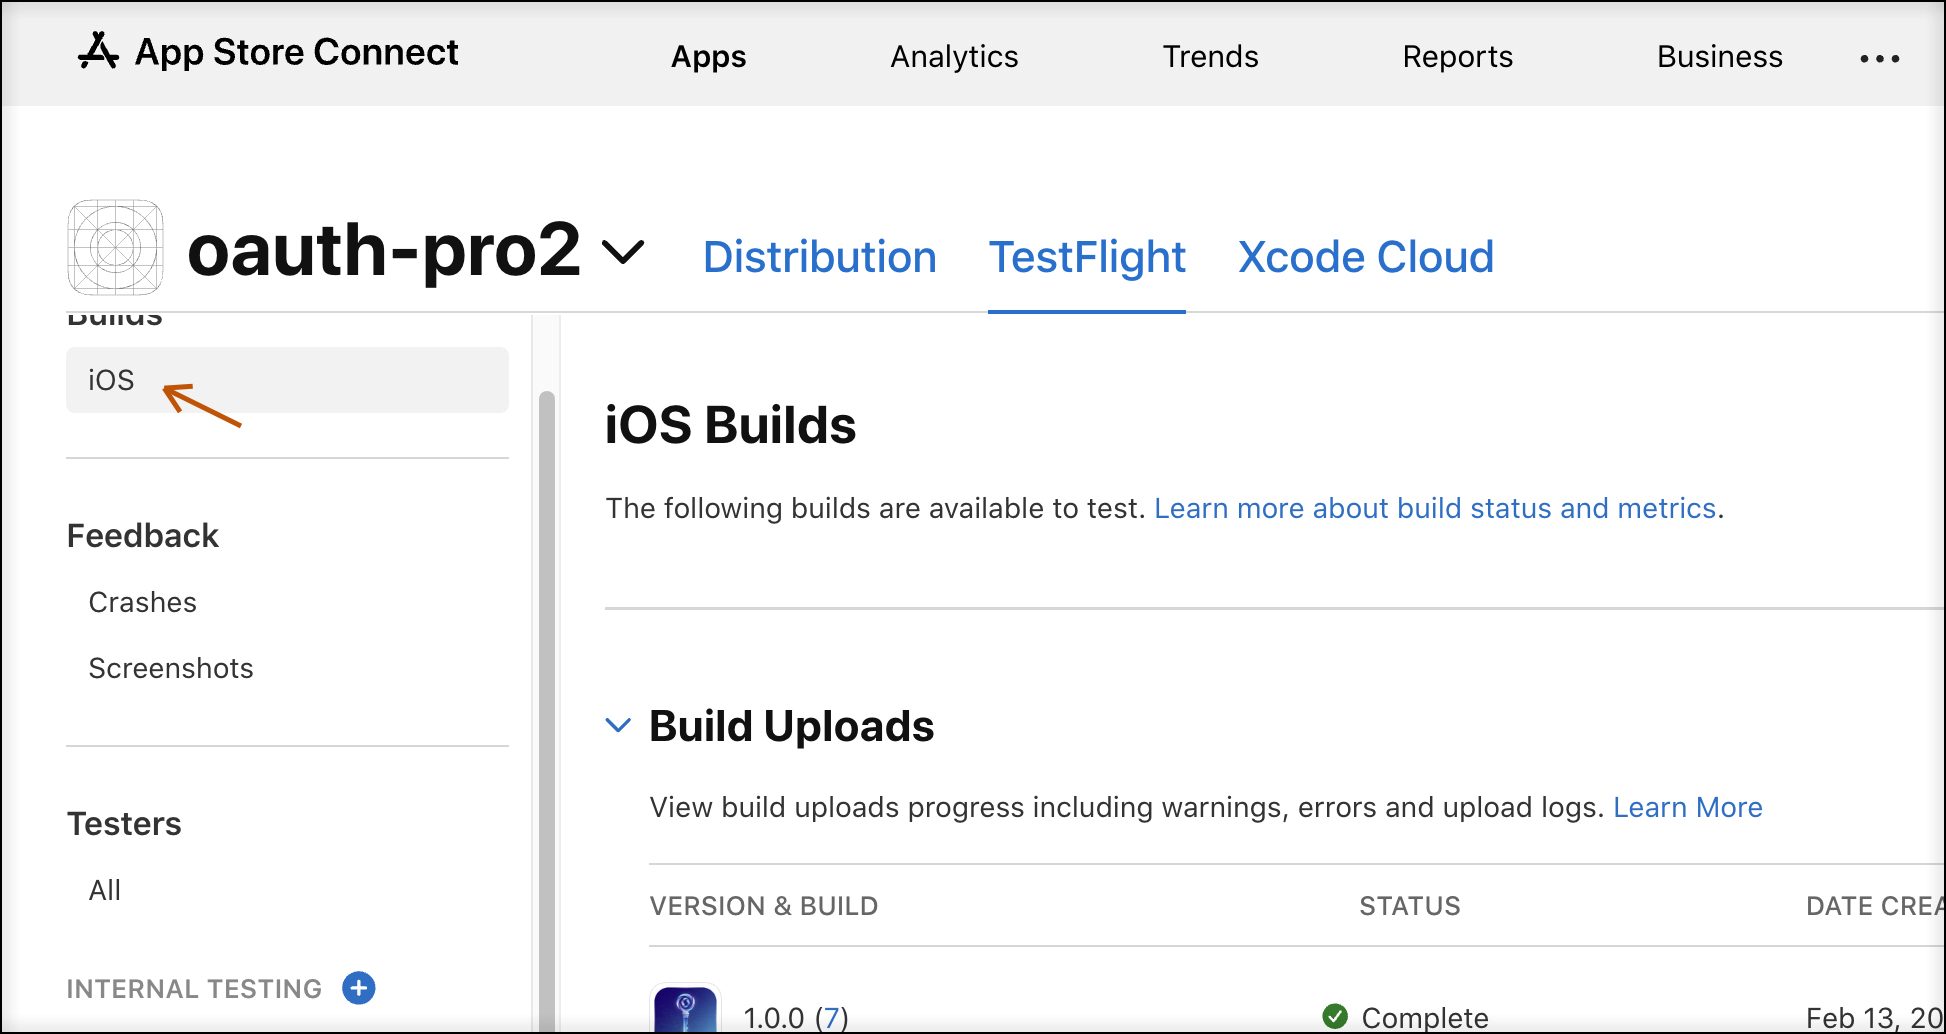
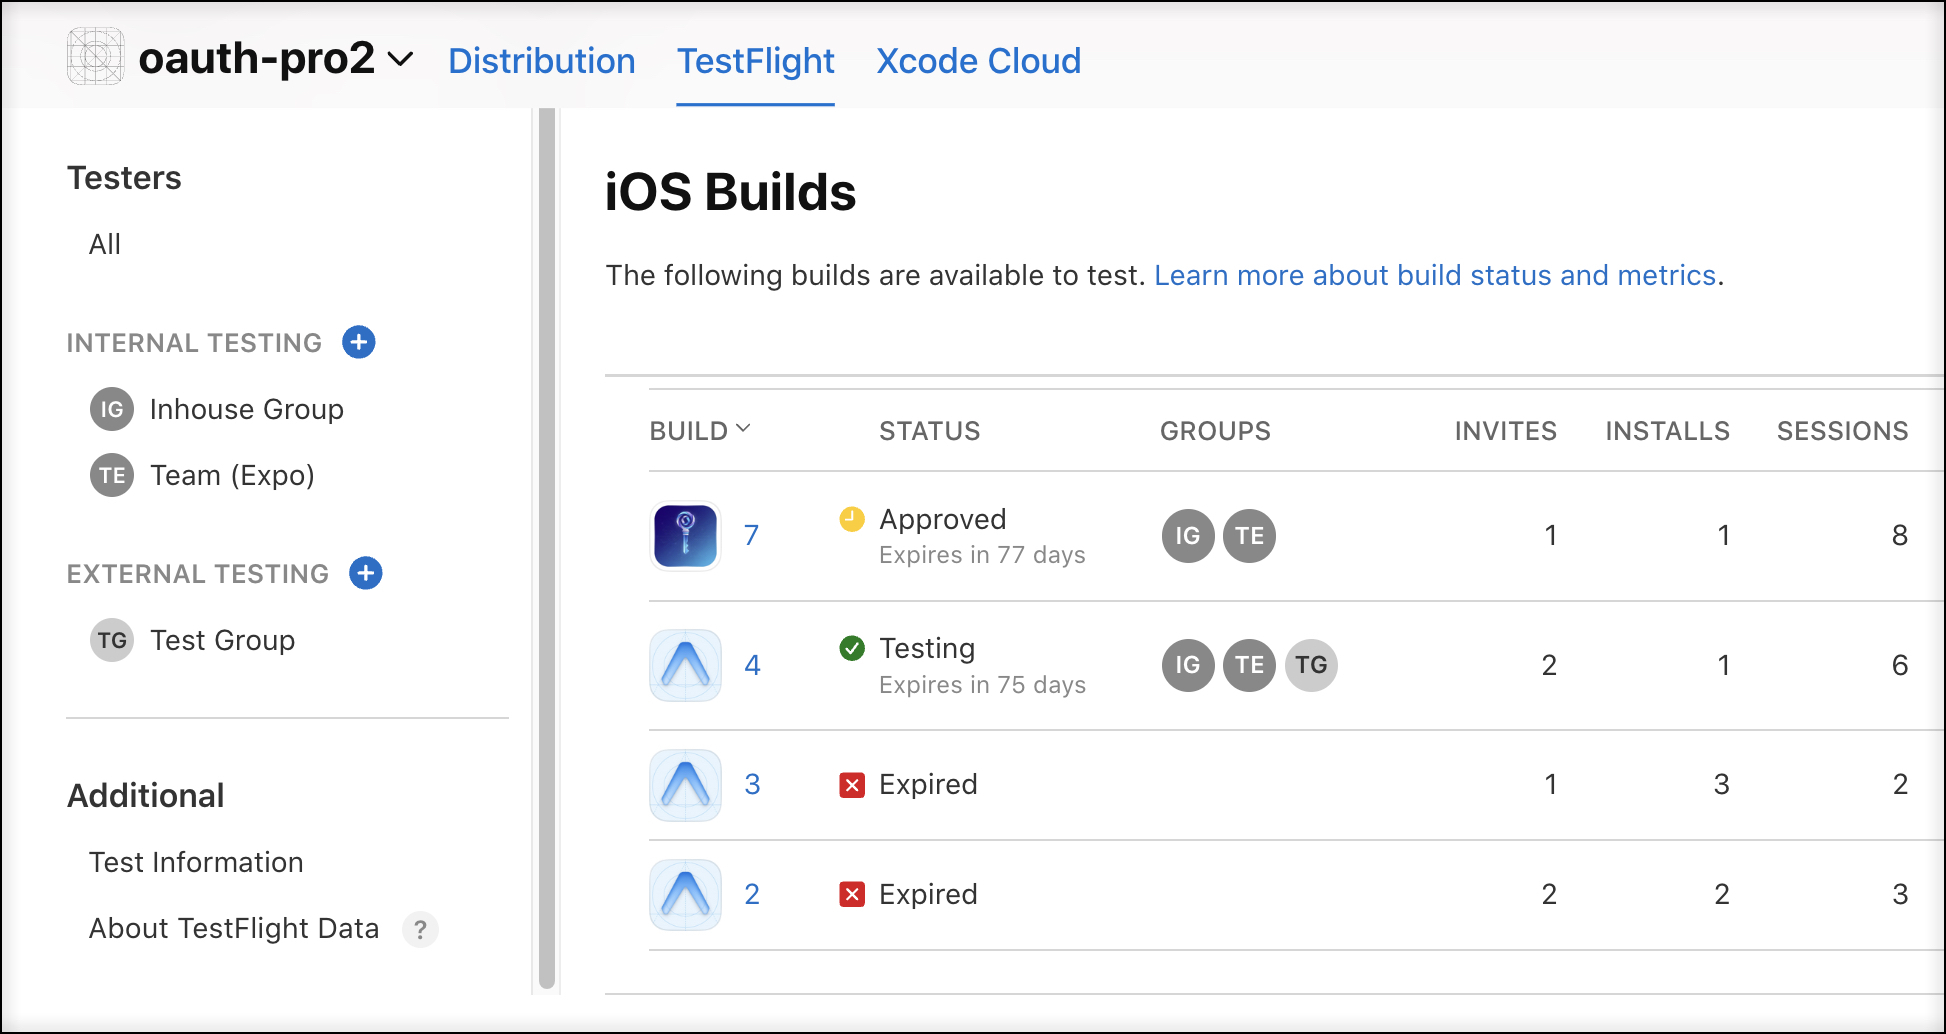
You can verify the setup in the iOS TestFlight Build tab:
Video Walk‑through
Watch the video demonstration of the internal tester setup process. (link placeholder – replace with actual video URL if available)