AWS Elastic Compute Cloud (EC2) | Amazon Web Services (AWS)
Source: Dev.to
Step 1: Sign in to AWS Console
Head to the AWS Management Console and sign in. This interface serves as your central hub for using AWS tools.
Step 2: Go to EC2 Dashboard
Amazon EC2 (Elastic Compute Cloud) offers on‑demand computing power in the cloud. It’s like leasing virtual servers from Amazon’s infrastructure, with the ability to adjust resources anytime based on demand.
With EC2, pricing follows usage—no need to buy fixed hardware. Instances start or stop within minutes, providing flexible, scalable access.
-
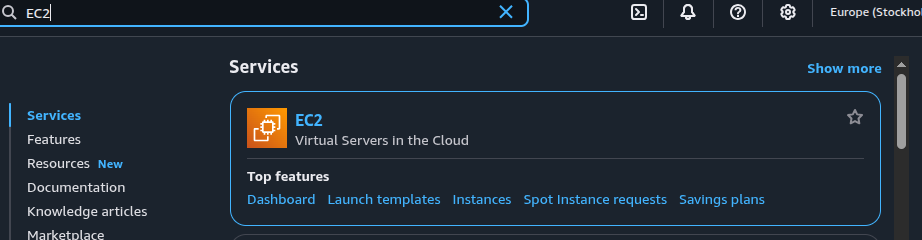
Look up EC2 in the console and open it.
-
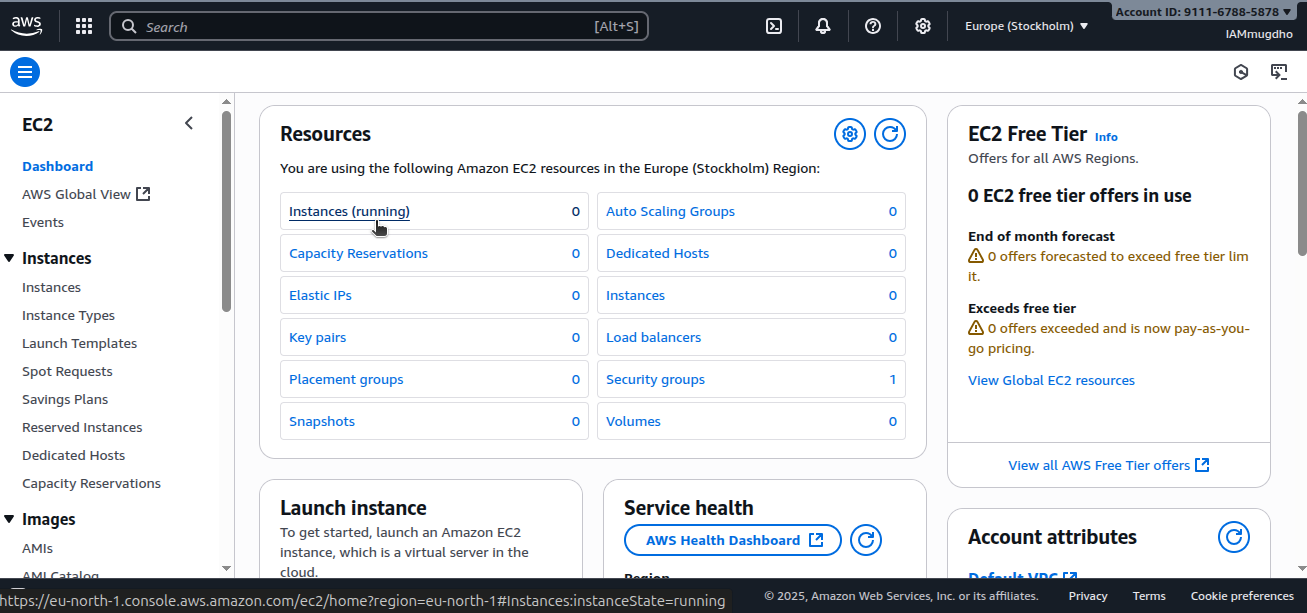
You’ll see a view similar to the one below.
-
Select Instances.
Step 3: Launch a New Instance
An instance is a virtual computer hosted on AWS. When you launch one, you reserve hardware resources (CPU, RAM, storage) and the software needed to run it.
Click Launch Instance.

Step 4: Name the Instance
Assign a name (e.g., web-server) to the instance. This tag helps you identify it in the AWS dashboard.

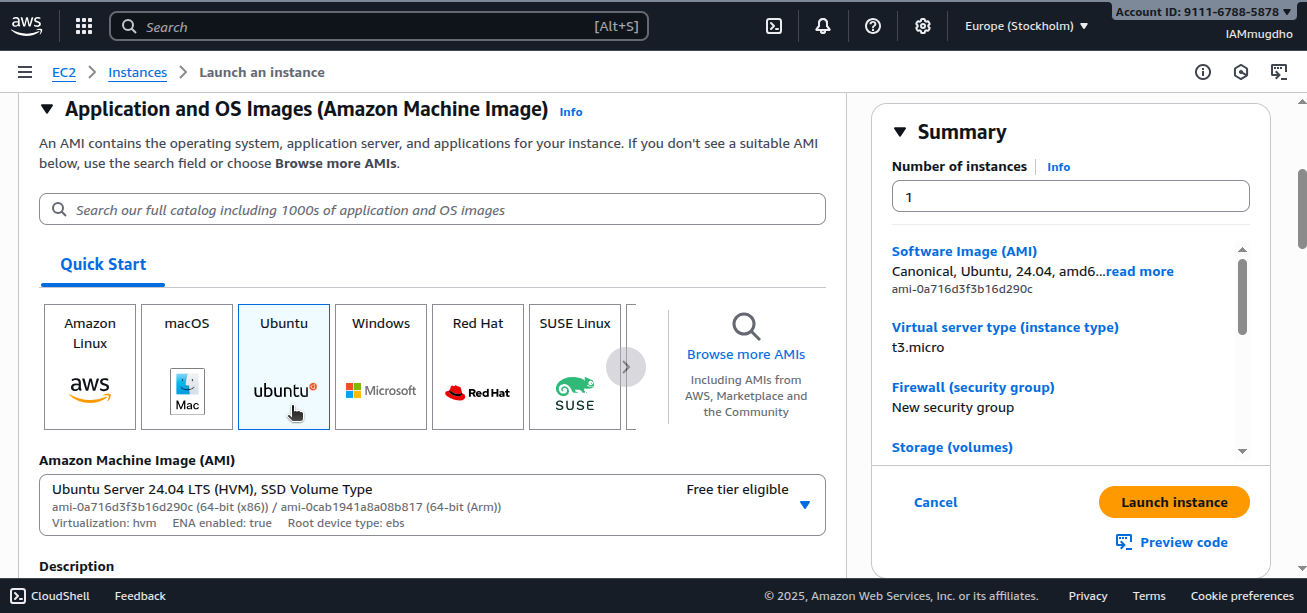
Step 5: Choose an AMI
An AMI (Amazon Machine Image) is a ready‑made blueprint for launching virtual machines. It includes:
- The operating system (Ubuntu, Amazon Linux, Windows, etc.)
- Optional application software
- Configuration settings
For example, selecting Ubuntu 24.04 boots the instance with that OS installed.
Select an AMI.
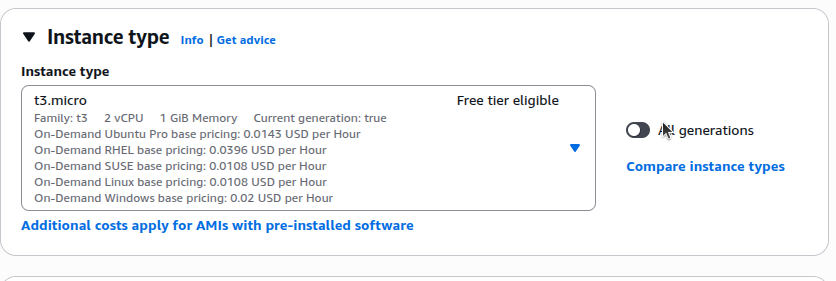
Step 6: Choose Instance Type
Instance types define CPU, RAM, network performance, and storage options. Common choices:
- t3.micro – compact and affordable, ideal for practice or light tasks
- m5.large – balanced performance for everyday applications
- c6g.xlarge – optimized for compute‑intensive workloads
Select the instance type that fits your needs; for this guide we’ll use t3.micro.
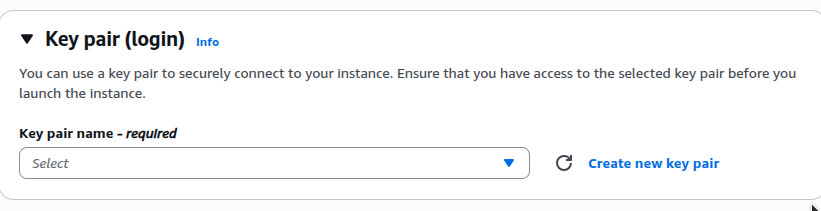
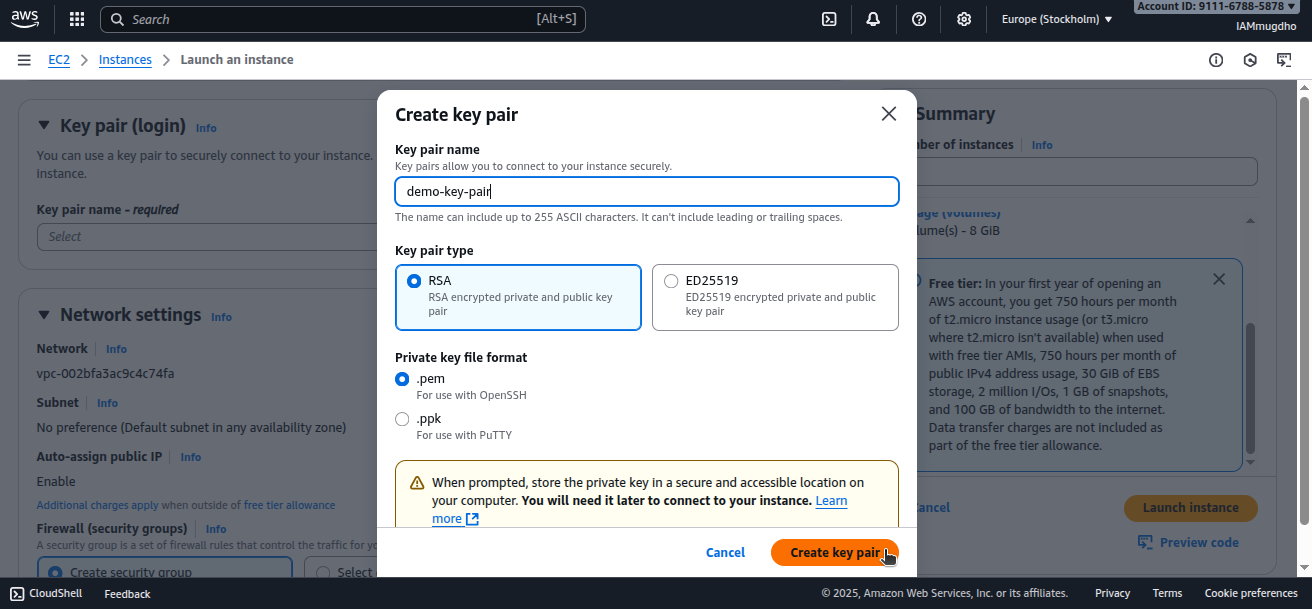
Step 7: Create a Key Pair
EC2 uses SSH key pairs for authentication instead of passwords. A key pair consists of:
- Public key – stored in AWS
- Private key (
.pemfile) – saved on your computer
When you connect via SSH, AWS verifies your private key against the stored public key. Keep the private key secure; losing it means you cannot access the instance.
- Choose Create key pair.
- Give the key pair a name and generate it.
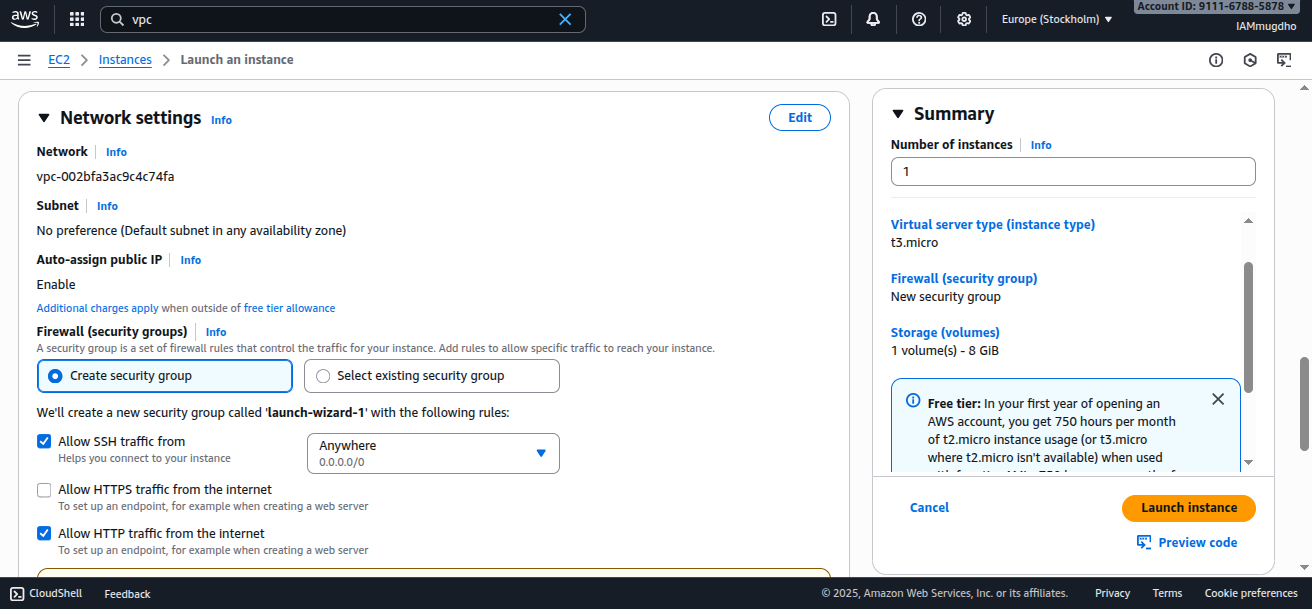
Step 8: Configure Security Groups
A security group acts as a virtual firewall, controlling inbound and outbound traffic. For this tutorial, allow:
- SSH (port 22) – terminal access
- HTTP (port 80) – web traffic
For practice, you can allow these ports from any IP address (0.0.0.0/0). In production, restrict SSH to your own IP for better security.
Step 9: Launch the Instance
Click Launch Instance. AWS will provision your virtual machine.
