Kubernetes GitOps와 Flux
발행: (2025년 12월 23일 오전 04:45 GMT+9)
3 분 소요
원문: Dev.to
Source: Dev.to
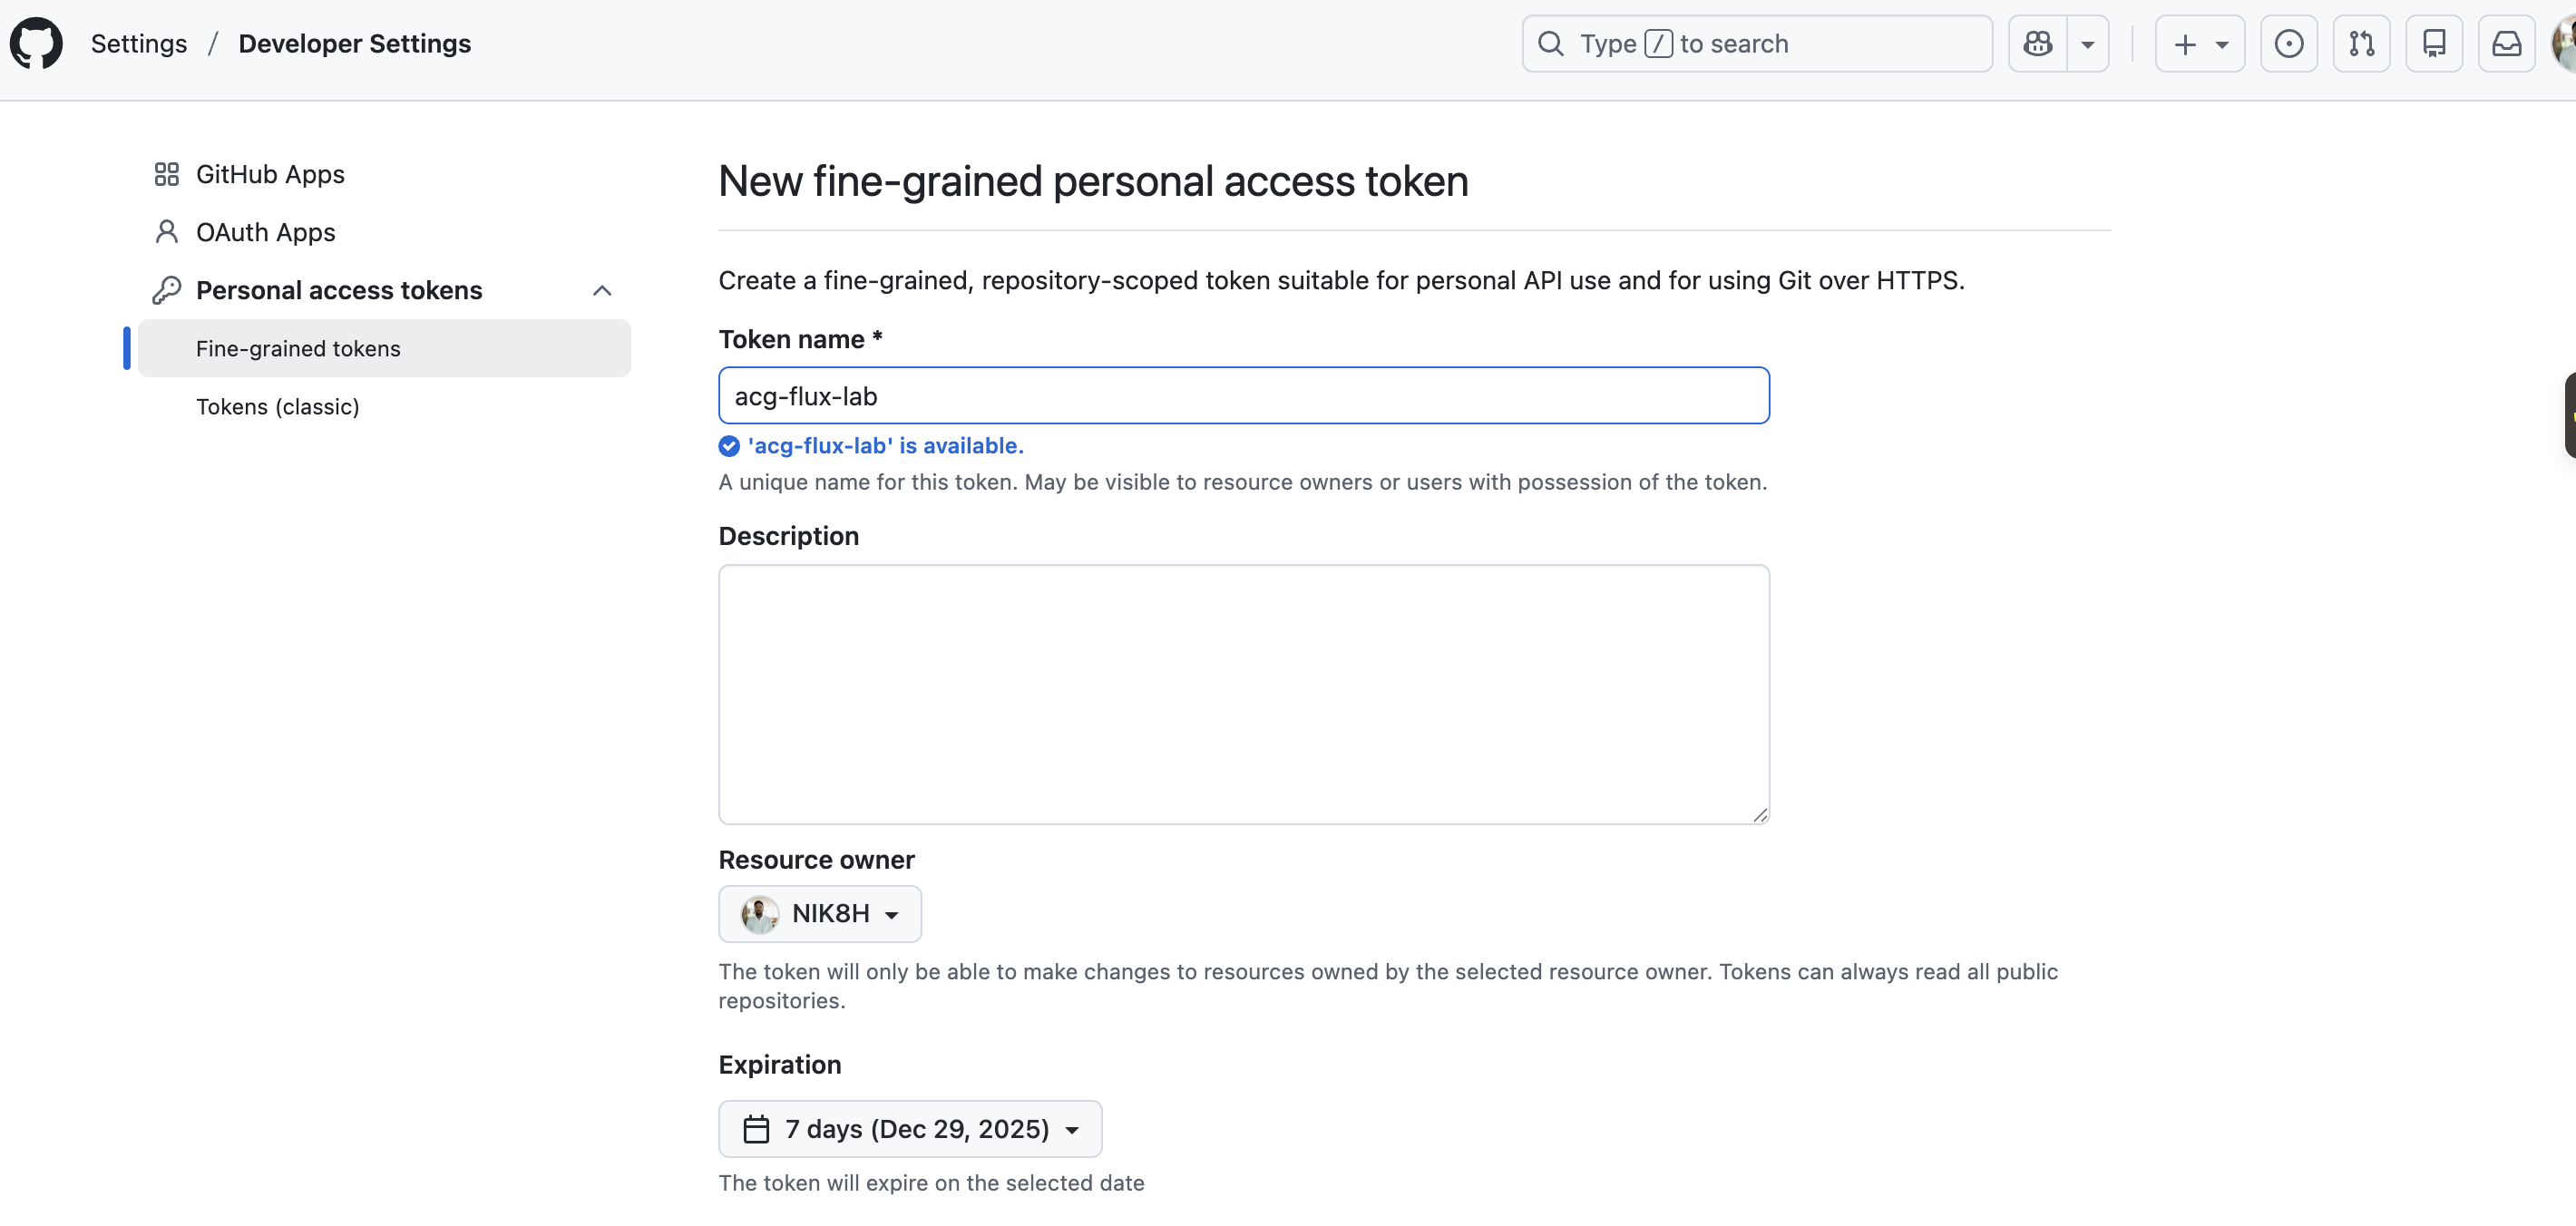
GitHub 개인 액세스 토큰 만들기
- 새 브라우저 탭을 열고 github.com에 접속합니다.
- 로그인하거나(또는 새 계정을) 만듭니다.
- 오른쪽 상단에 있는 아바타를 클릭 → Settings(설정).
- 왼쪽 메뉴에서 Developer settings → Personal access tokens를 선택합니다.
- Generate a personal access token(개인 액세스 토큰 생성)를 클릭합니다.
- 요청 시 비밀번호를 다시 입력하고 확인합니다.
- Note(메모)란에 설명적인 이름을 입력합니다(예:
acg-flux-lab). - Select scopes(범위 선택)에서 repo 체크박스를 선택합니다.
- Generate token을 클릭하고 생성된 토큰을 복사합니다.
Git 저장소 부트스트랩
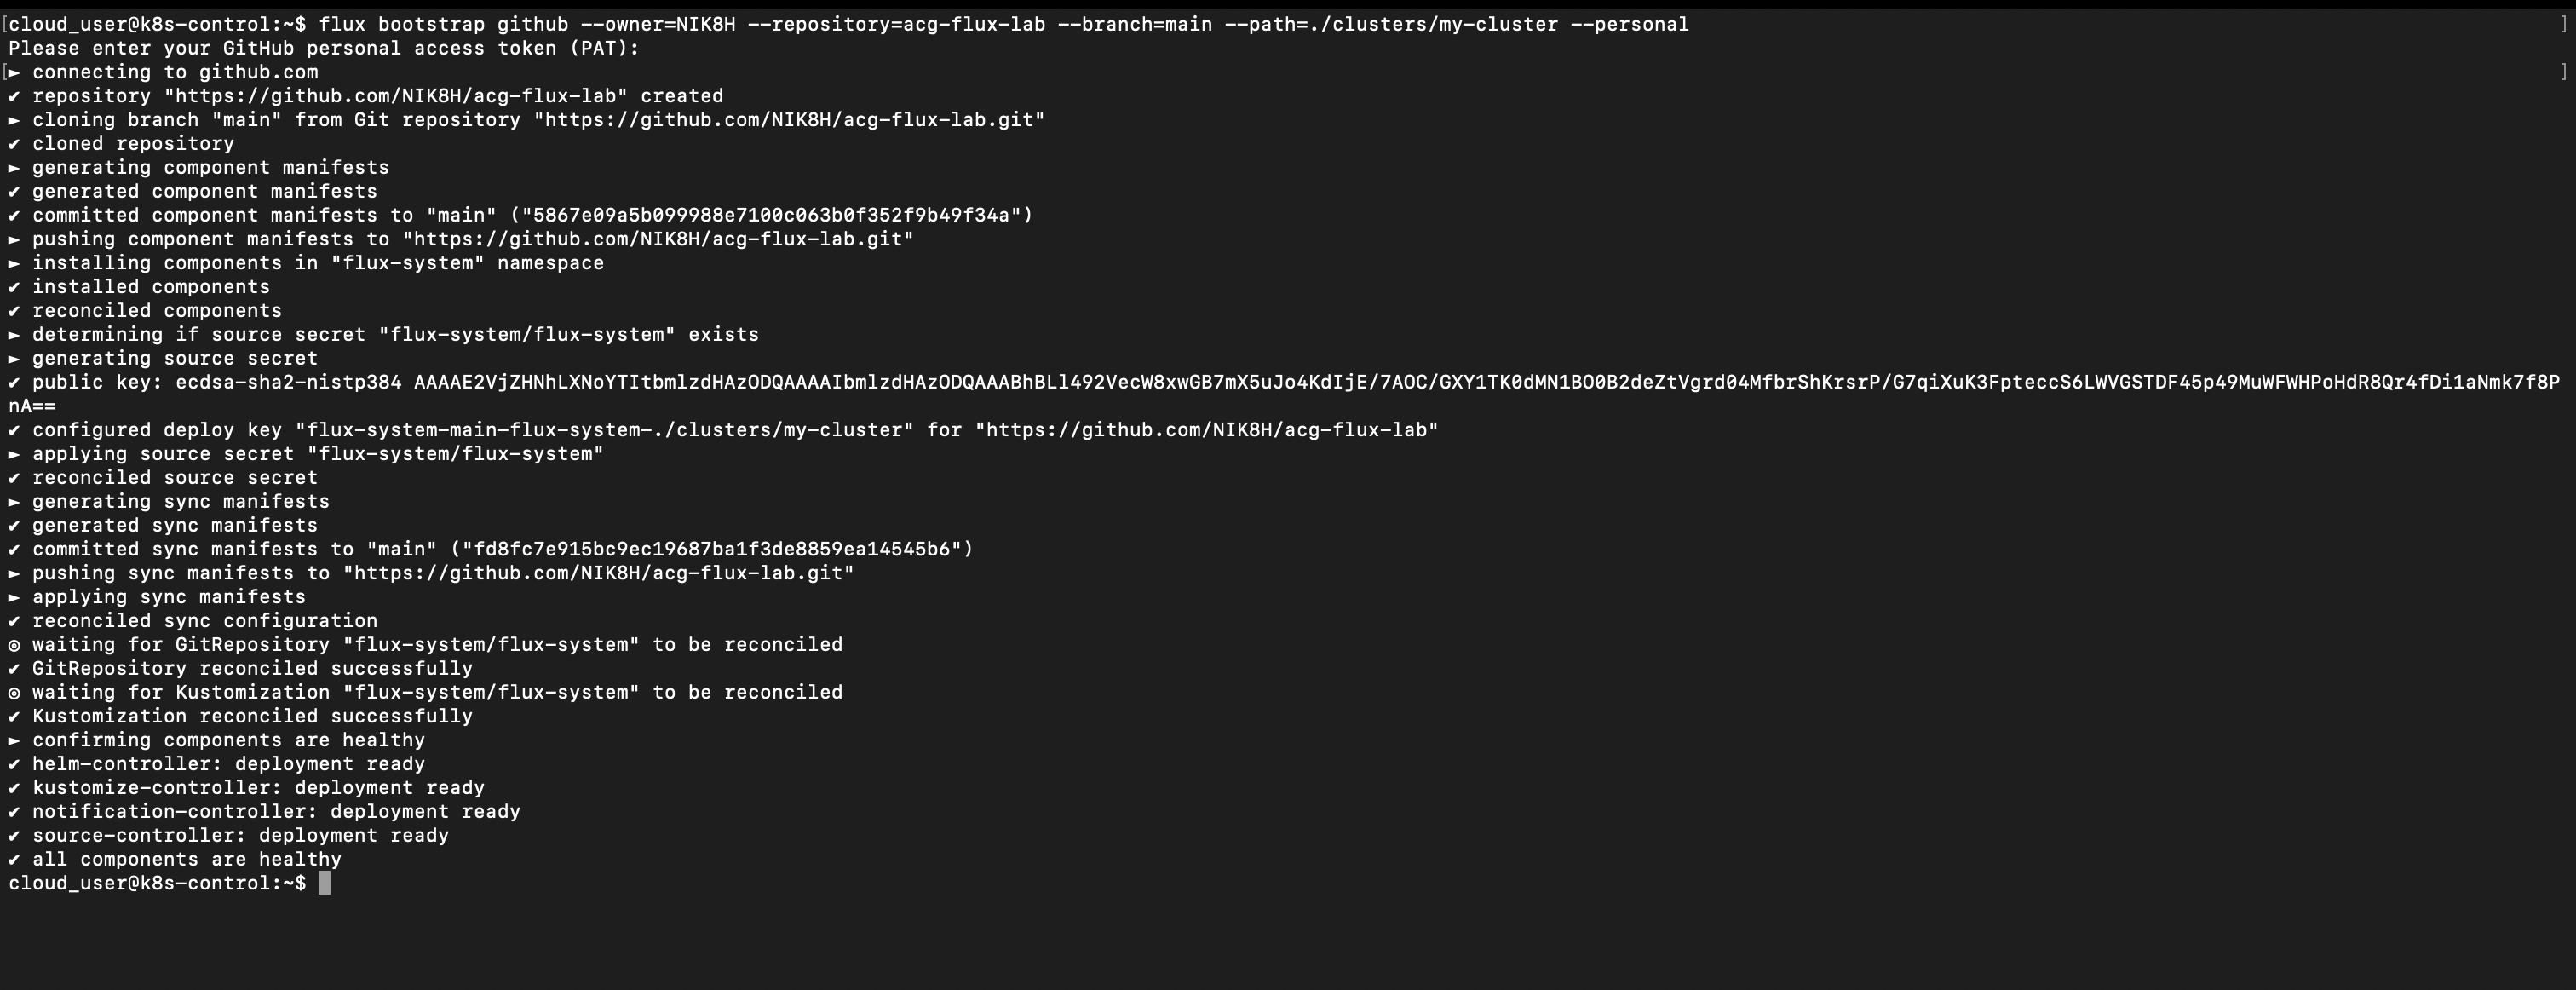
랩 서버에서 아래 명령을 실행하고 “ 부분을 자신의 GitHub 사용자 이름으로 바꿉니다:
flux bootstrap github \
  --owner= \
  --repository=acg-flux-lab \
  --branch=main \
  --path=./clusters/my-cluster \
--personal- 이 명령은 acg-flux-lab이라는 새 GitHub 저장소를 생성합니다.
- 프롬프트가 나타나면 앞서 만든 개인 액세스 토큰을 붙여넣습니다.
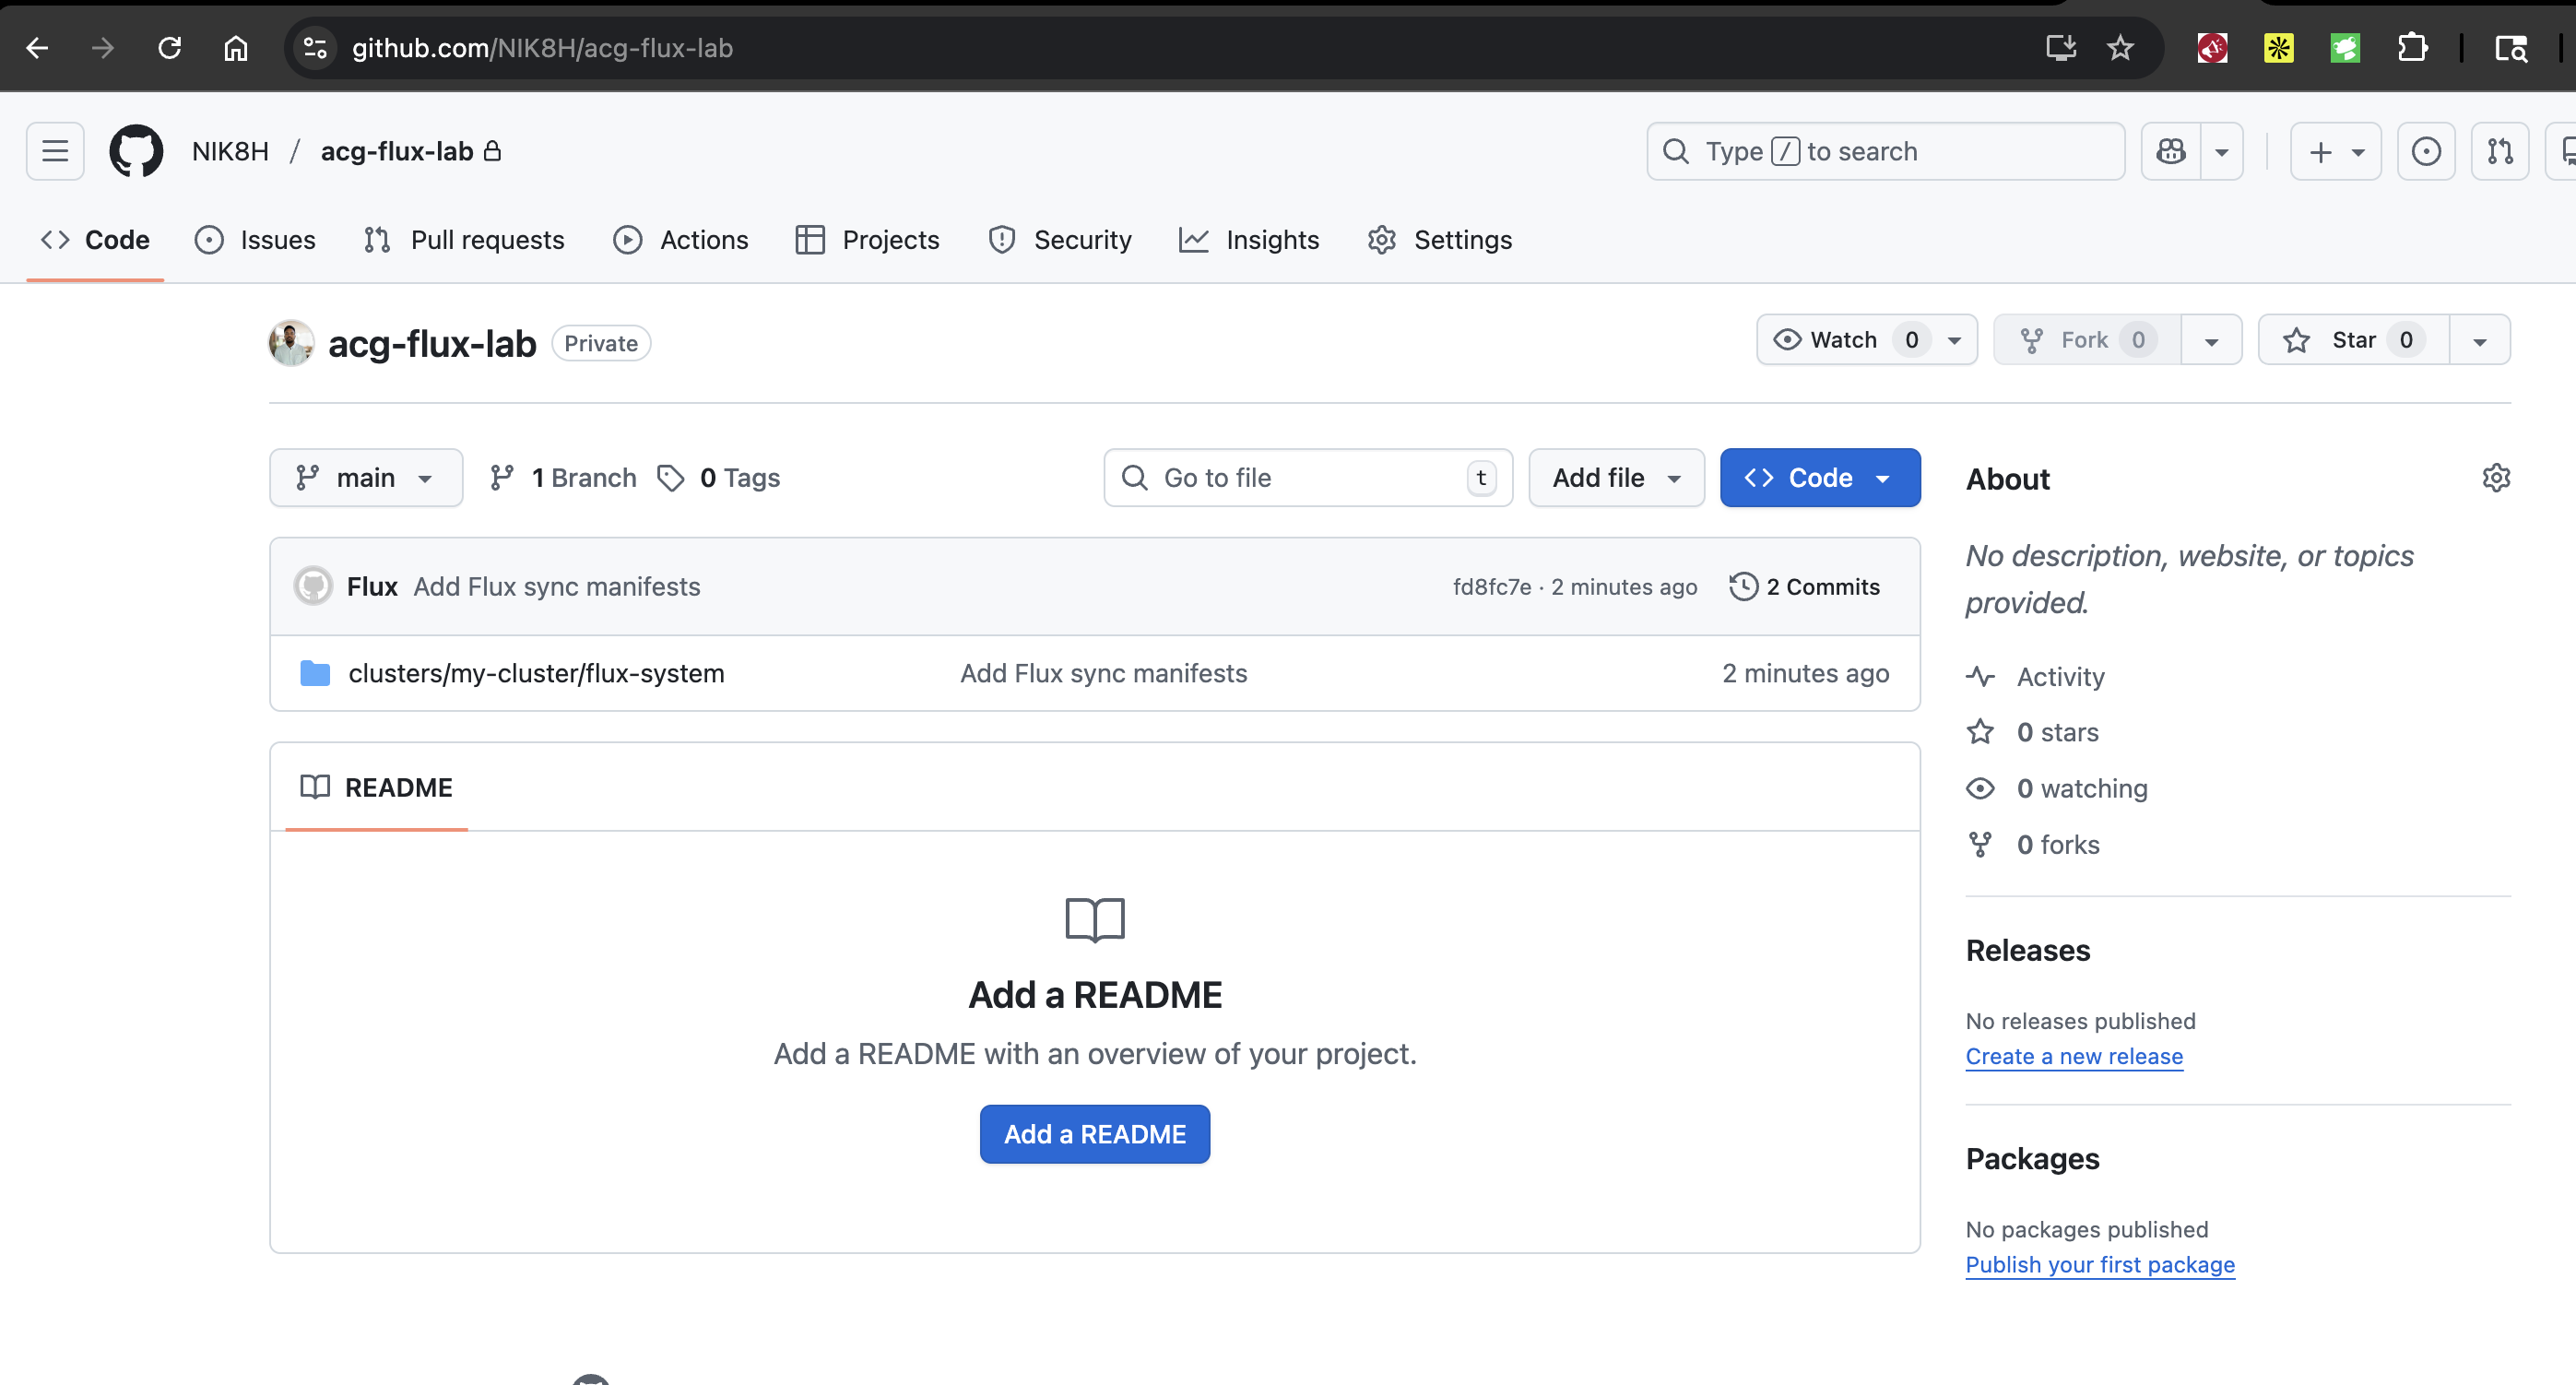
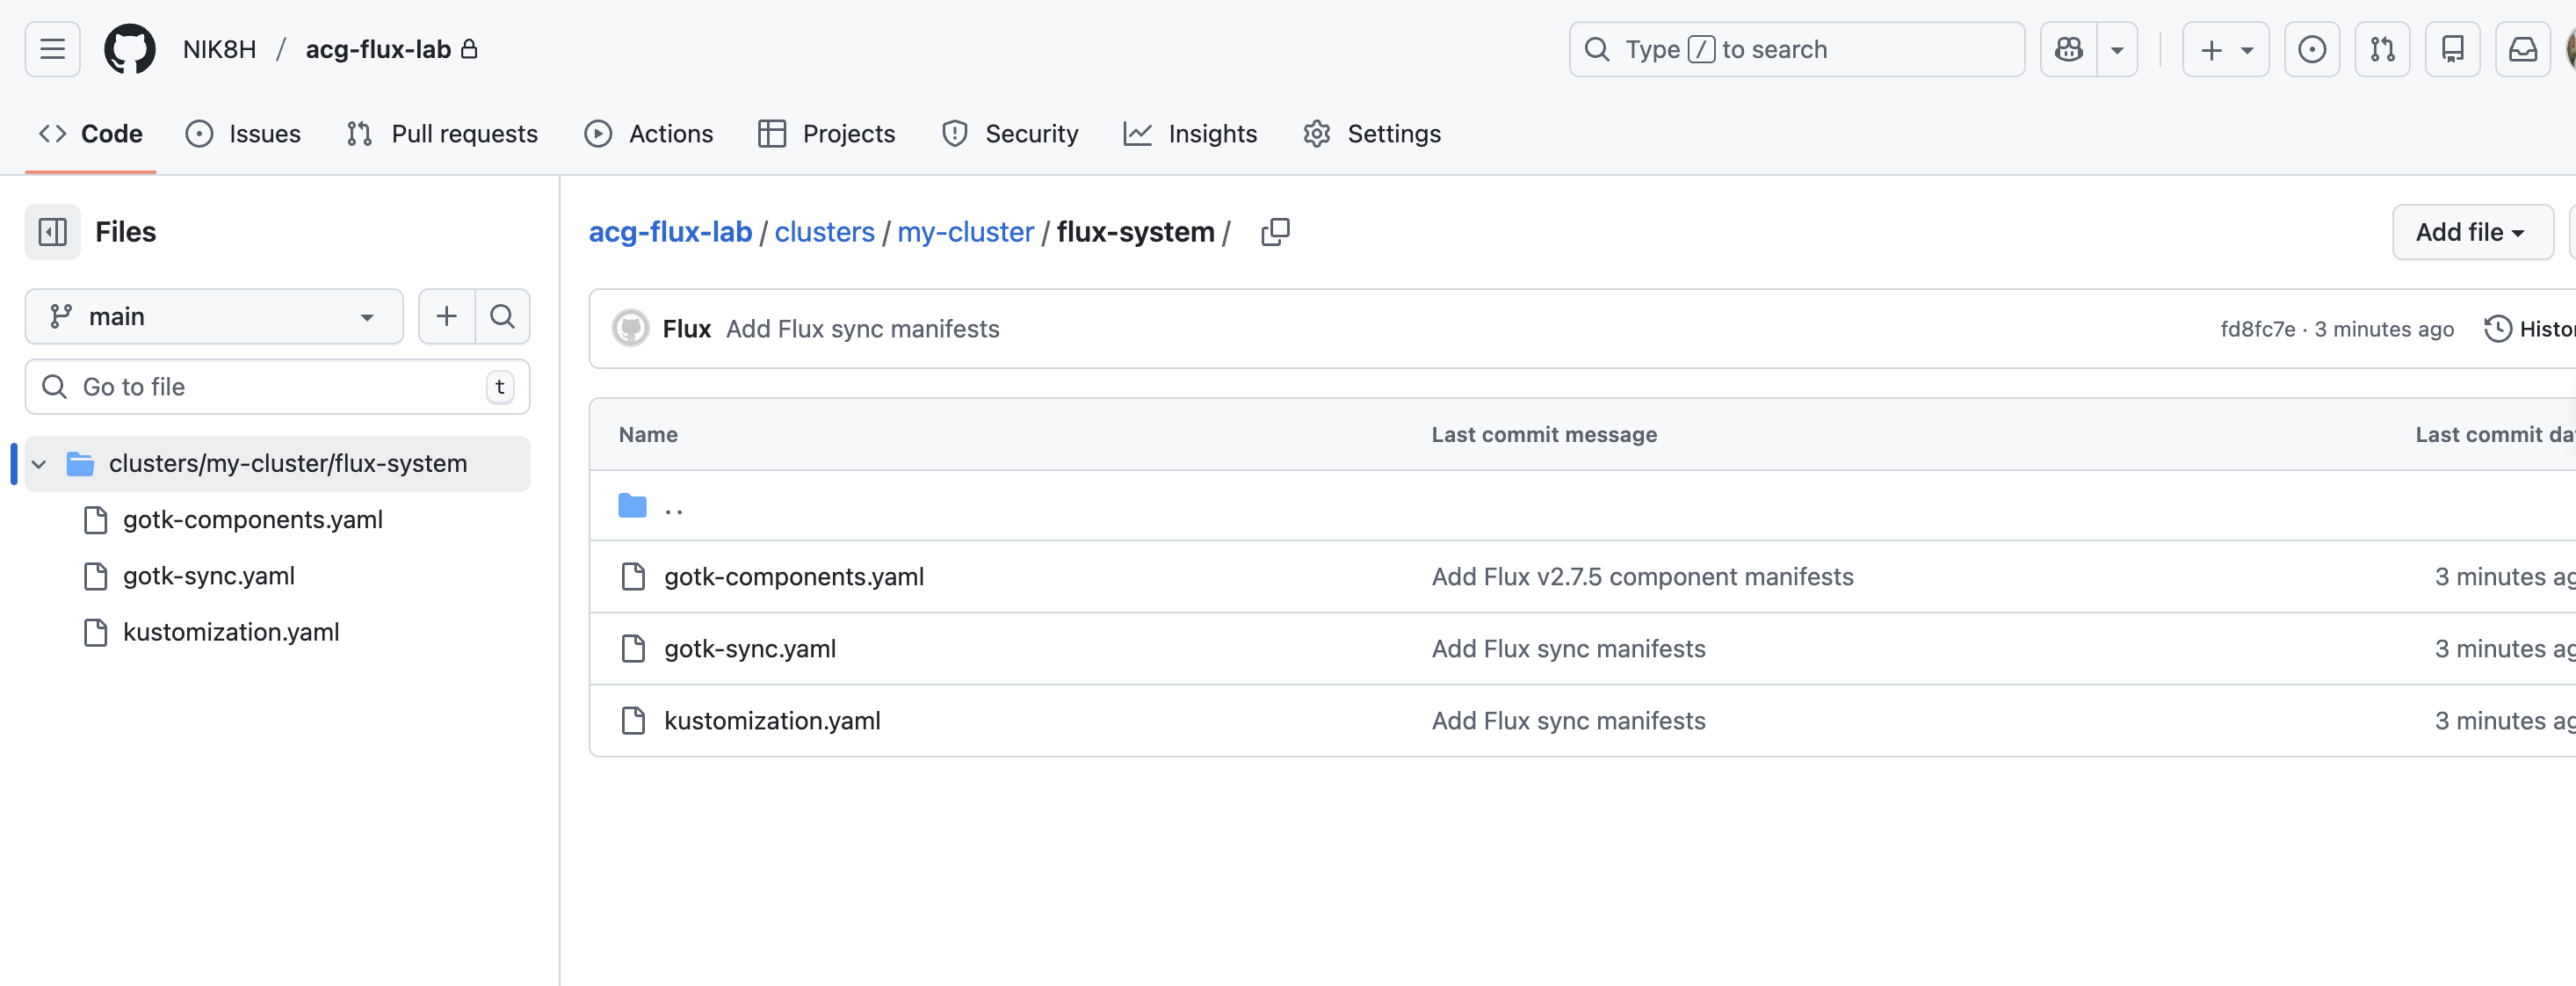
https://github.com//acg-flux-lab에 접속하여 저장소가 생성됐는지 확인합니다.
YAML 매니페스트
아래는 저장소에 추가될 예시 매니페스트입니다:
Flux를 이용해 GitHub 저장소에서 배포 생성
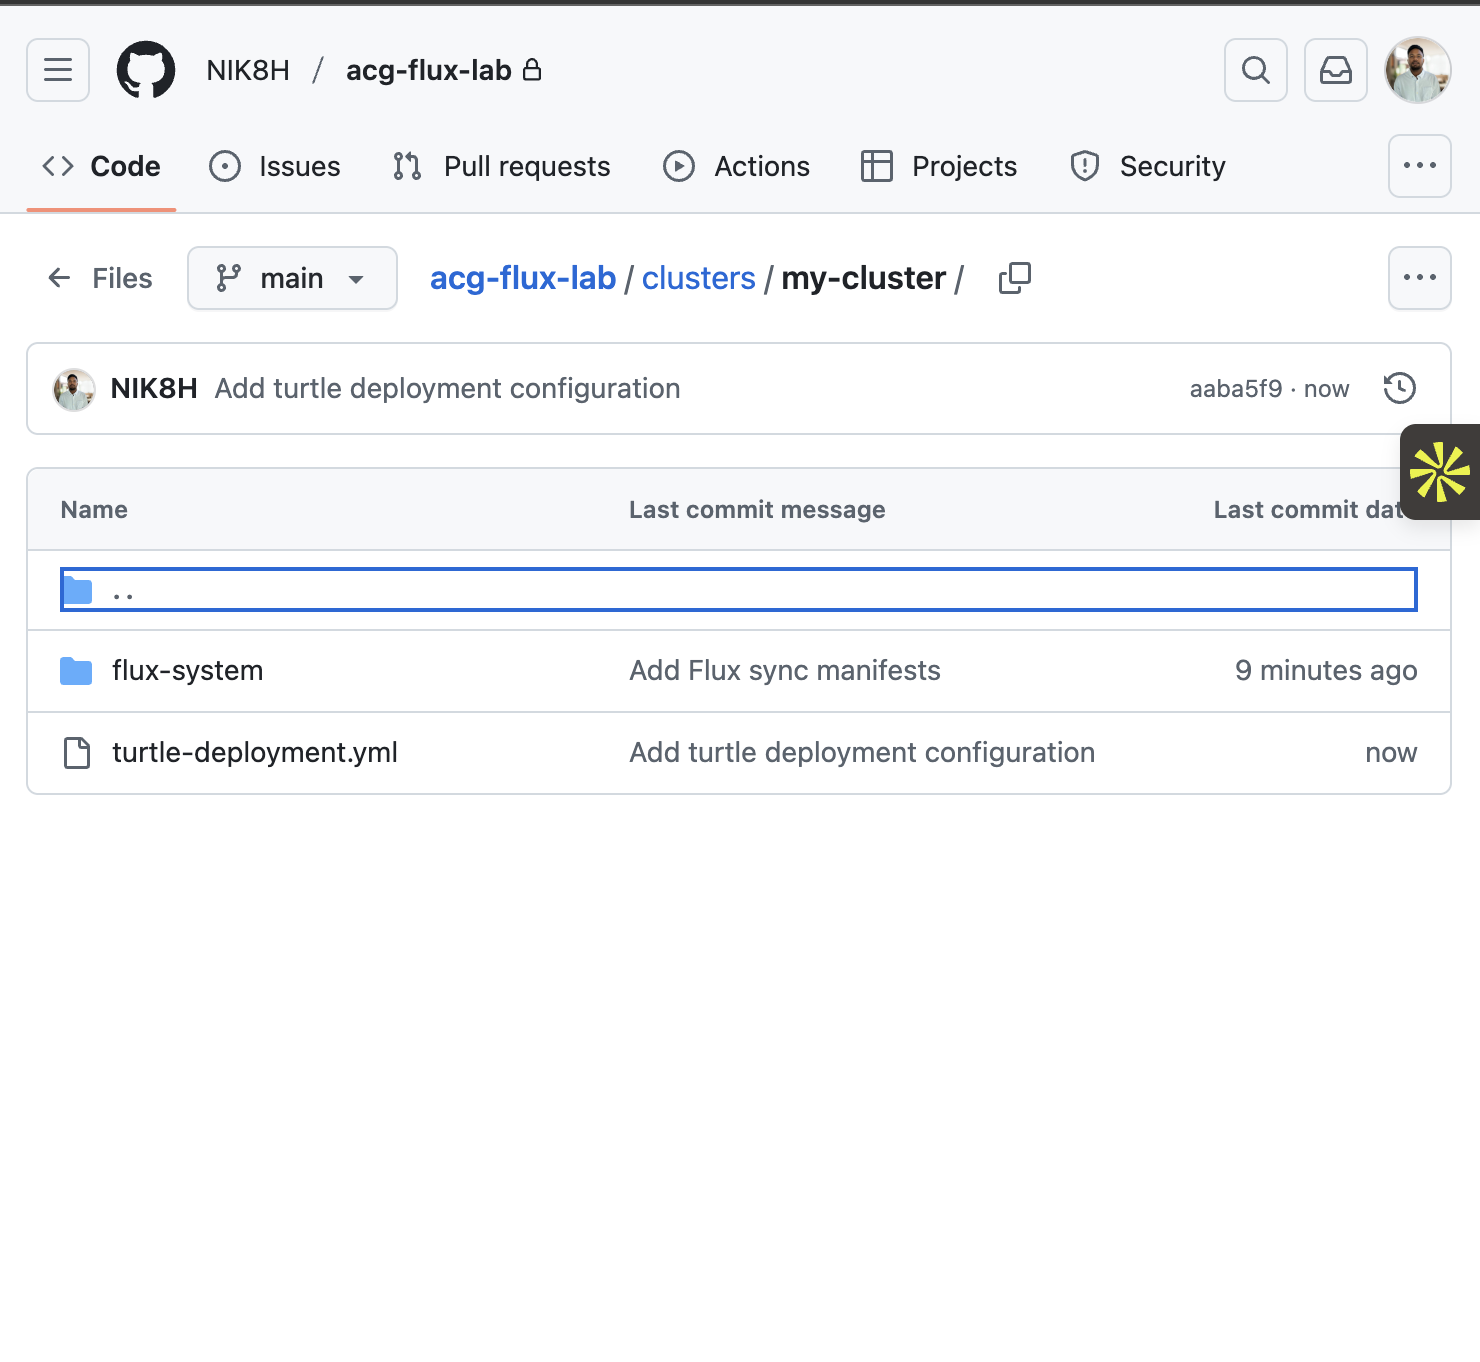
- GitHub의 acg-flux-lab 저장소에서 Add files → Create new file을 클릭합니다.
- 경로를
clusters/my-cluster/turtle-deployment.yaml로 설정합니다. - 아래 YAML을 편집기에 붙여넣습니다:
apiVersion: apps/v1
kind: Deployment
metadata:
  name: turtle-deployment
  namespace: default
spec:
  replicas: 3
  selector:
    matchLabels:
      app: turtle
  template:
    metadata:
      labels:
        app: turtle
    spec:
      containers:
        - name: nginx
image: nginx:stable- 새 파일을 main 브랜치에 바로 커밋합니다.
Flux가 저장소를 동기화한 후, 아래 명령으로 리소스를 확인합니다:
kubectl get pods
kubectl get deployments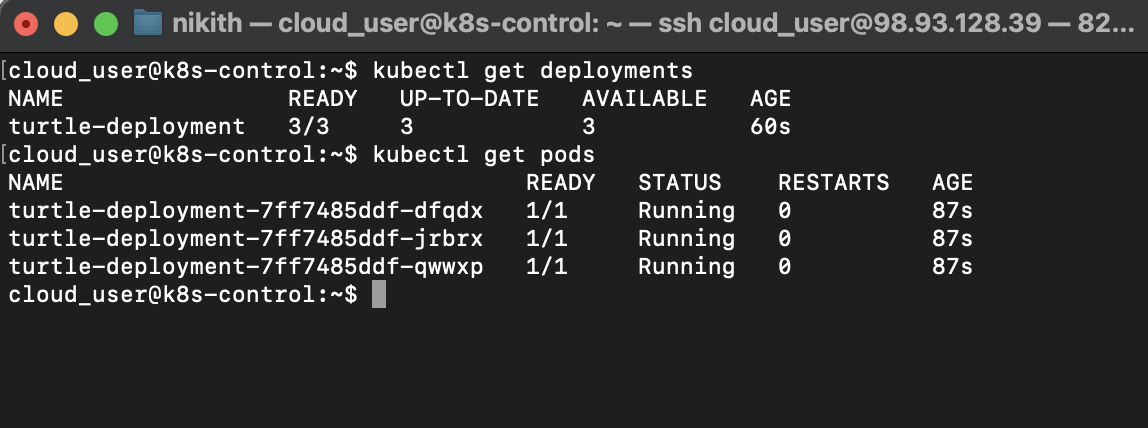
참고
- (no items)