Introduction to serializers in Django Rest Framework (DRF) Part 1
Source: Dev.to
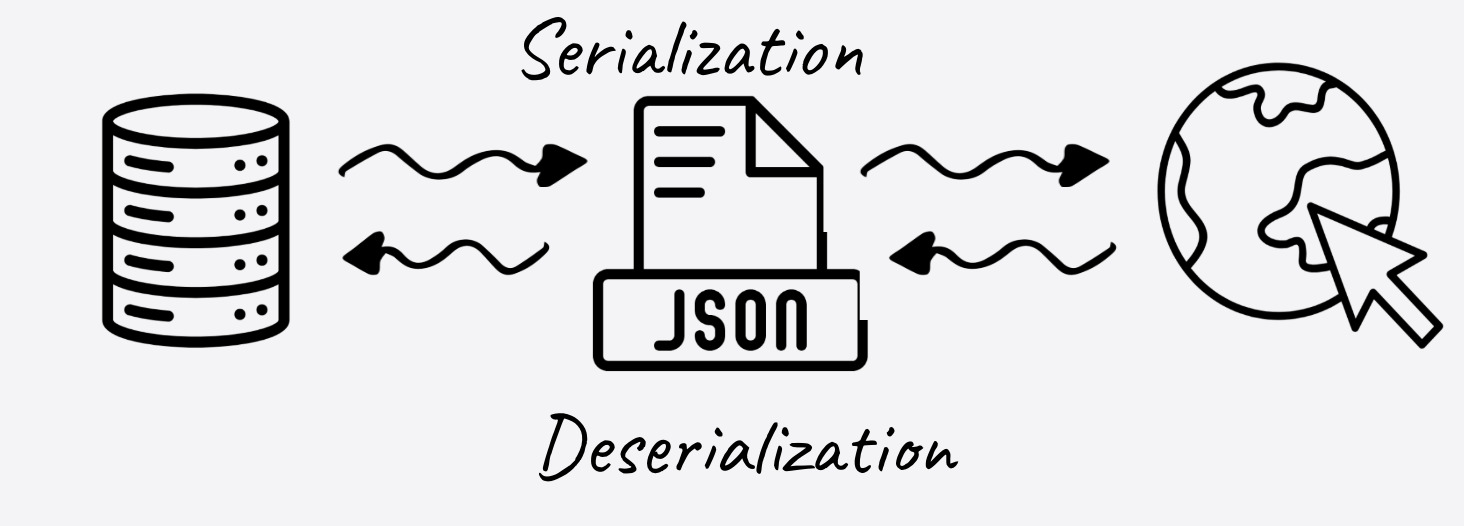
What is a Serializer?
In DRF, a serializer is like a bridge between your database and the internet.
- Django models store data as Python objects.
- When you want to send that data to a frontend application (like React or a mobile app), you cannot send Python objects. You need to send a format that everyone understands – usually JSON.
Serializers perform three main jobs:
- Serialization: Converting complex Python objects (Models) into Python dictionaries (which can be easily rendered into JSON).
- Deserialization: Converting JSON data coming from a user back into complex Python objects.
- Validation: Checking if the incoming data is correct before saving it to the database.
Why Do We Need Them?
In a standard Django application, we interact with data using Models. Let’s look at a simple scenario. We want to build a store, so we define a ProductModel.
(Create this in your models.py file)
from django.db import models

class ProductModel(models.Model):
    name = models.CharField(max_length=150)
    description = models.TextField()
    price = models.DecimalField(max_digits=10, decimal_places=2)
    stock = models.IntegerField()
    is_active = models.BooleanField(default=True)

    def __str__(self):
        return self.name
If you try to send a ProductModel instance directly to a web browser, it will crash. The browser doesn’t speak “Python Class”; it speaks “JSON”.
We need a translator. That translator is the Serializer.
Creating Your First Serializer
There are several types of serializers in DRF, such as ModelSerializer, HyperlinkedModelSerializer, and ListSerializer. To truly understand how they work, we will start with the base Serializer class.
Create a serializers.py file in your app (let’s call the app demo) and define a serializer that mirrors our model:
# demo/serializers.py
from rest_framework import serializers

class ProductSerializer(serializers.Serializer):
    name = serializers.CharField(max_length=150)
    description = serializers.CharField()
    price = serializers.DecimalField(max_digits=10, decimal_places=2)
    stock = serializers.IntegerField()
    is_active = serializers.BooleanField()
Note: We had to repeat the fields from the model. We will solve this redundancy in Part 2, but for now, this explicit style helps us understand exactly what is happening.
Seeing Serialization in Action
The best way to learn DRF is not through the web browser, but through the Python Shell. This allows us to see the data transformation step‑by‑step.
Open your terminal and run the shell (make sure your virtual environment with Django and DRF is active):
python manage.py shellImport the model and serializer:
from demo.models import ProductModel
from demo.serializers import ProductSerializer
Step 1: Create Dummy Data
Create a product in the database using standard Django code:
product = ProductModel.objects.create(
    name='Logitech MX Master',
    description='Ergonomic Logitech Mouse',
    price=110.99,
    stock=72,
    is_active=True
)
Step 2: Serialize the Data
Pass the product object into our serializer:
serializer = ProductSerializer(product)To see the translated data, access the .data attribute:
print(serializer.data)Output:
{
   "name": "Logitech MX Master",
   "description": "Ergonomic Logitech Mouse",
   "price": "110.99",
   "stock": 72,
   "is_active": true
}
Success! The serializer took a Python object and converted it into a Python dictionary. This dictionary can now be easily turned into JSON and sent over the API.
Deserialization (The Reverse Process)
Now, let’s look at the reverse scenario. A user wants to create a new product via your API. They will send you a JSON object.
Assume this is the incoming data:
data = {
    "name": "Mechanical Keyboard",
    "description": "Backlit mechanical keyboard",
    "price": "24.99",
    "stock": 10,
    "is_active": True
}
Pass the raw data to the serializer using the data argument:
serializer = ProductSerializer(data=data)Common mistake: Trying to access
.databefore validation.
# DO NOT DO THIS
print(serializer.data)
You will get an error:
AssertionError: When a serializer is passed a `data` keyword argument you must call `.is_valid()` before accessing `.data`.Proper Deserialization Flow
if serializer.is_valid():
    product_instance = serializer.save()   # creates a ProductModel instance
    print("Created:", product_instance)
else:
print("Validation errors:", serializer.errors)serializer.is_valid()runs the validation logic.- If the data passes validation,
serializer.save()creates (or updates) the model instance. - If validation fails,
serializer.errorscontains a dictionary of error messages.
Recap
- Serializers translate between Django models (Python objects) and JSON‑compatible data.
- They handle serialization, deserialization, and validation.
- Starting with the base
Serializerclass gives you a clear view of each step; later you’ll see howModelSerializerremoves the redundancy.
Accessing the Serialized .data Representation
# Example usage in the Django shell
serializer = ProductSerializer(data=product_data)
if serializer.is_valid():
    print(serializer.validated_data)
else:
    print(serializer.errors)
DRF protects your database. It refuses to let you touch the data until you confirm it is valid. You must call is_valid() first. If the is_valid() method is not called, Python will raise an AssertionError.
Since our data matches the requirements (e.g., price is a decimal, stock is an integer, is_active is a boolean), is_valid() returns True.
Saving the Data
Now that the data is valid, we want to save it to the database. Usually, you would call serializer.save().
However, if you try to run serializer.save() right now, it will fail.
Why? Because the base Serializer class doesn’t know how to create a ProductModel. We have to tell it how.
Implement the create() Method
Edit serializers.py and add a create() method:
class ProductSerializer(serializers.Serializer):
    name = serializers.CharField(max_length=150)
    description = serializers.CharField()
    price = serializers.DecimalField(max_digits=10, decimal_places=2)
    stock = serializers.IntegerField()
    is_active = serializers.BooleanField()

    # We must implement this to support saving data
    def create(self, validated_data):
        # Unpack the validated data and create a model instance
        return ProductModel.objects.create(**validated_data)
Now, back in your shell, run:
serializer.save()It will successfully create the “Mechanical Keyboard” in your database.
Wrap Up
We have successfully built a serializer that can:
- Read a Django model and convert it to a dictionary.
- Write: Take a dictionary, validate it, and convert it into a Django model.
But did you notice something annoying?
We repeated a lot of code. We typed name, price, and stock in the model, and then we typed them again in the serializer. In a real project with dozens of models, this violates the DRY (Don’t Repeat Yourself) principle.
In Part 2, we’ll introduce the ModelSerializer, a powerful shortcut that writes all this boilerplate code for you automatically.