🔰How to Build a Real-Time Chat App in Flutter Using ZEGOCLOUD ZIMKit (No Backend Needed)
Source: Dev.to
Introduction
Real‑time chat functionality is now a core feature in modern apps—whether you’re creating a messaging platform like WhatsApp, a customer‑support chat, or a community group application. Instead of building servers, handling WebSockets, and syncing messages manually, ZEGOCLOUD provides ready‑to‑use APIs and UI components for Flutter developers. With ZIMKit you can create a real‑time chat app in minutes—without managing any backend infrastructure.
In this tutorial we’ll build a real‑time chat app with:
- Login
- Private chat
- Group chat
- Messages in real time
- No backend required
What You Will Build
By the end of this article you will be able to:
- Integrate ZEGOCLOUD ZIMKit in Flutter
- Initialize the chat SDK
- Register users locally
- Create private chats
- Create and join group chats
- Display conversations in real time
What is ZEGOCLOUD?
ZEGOCLOUD is a communication platform that provides SDKs such as:
- In‑app Chat
- Voice & Video Calls
- Live Streaming
- Interactive Rooms
Website:
In‑App Chat product:
Flutter docs:
Step 1 — Install Zego ZIMKit
Open your pubspec.yaml file and add the ZIMKit dependency:
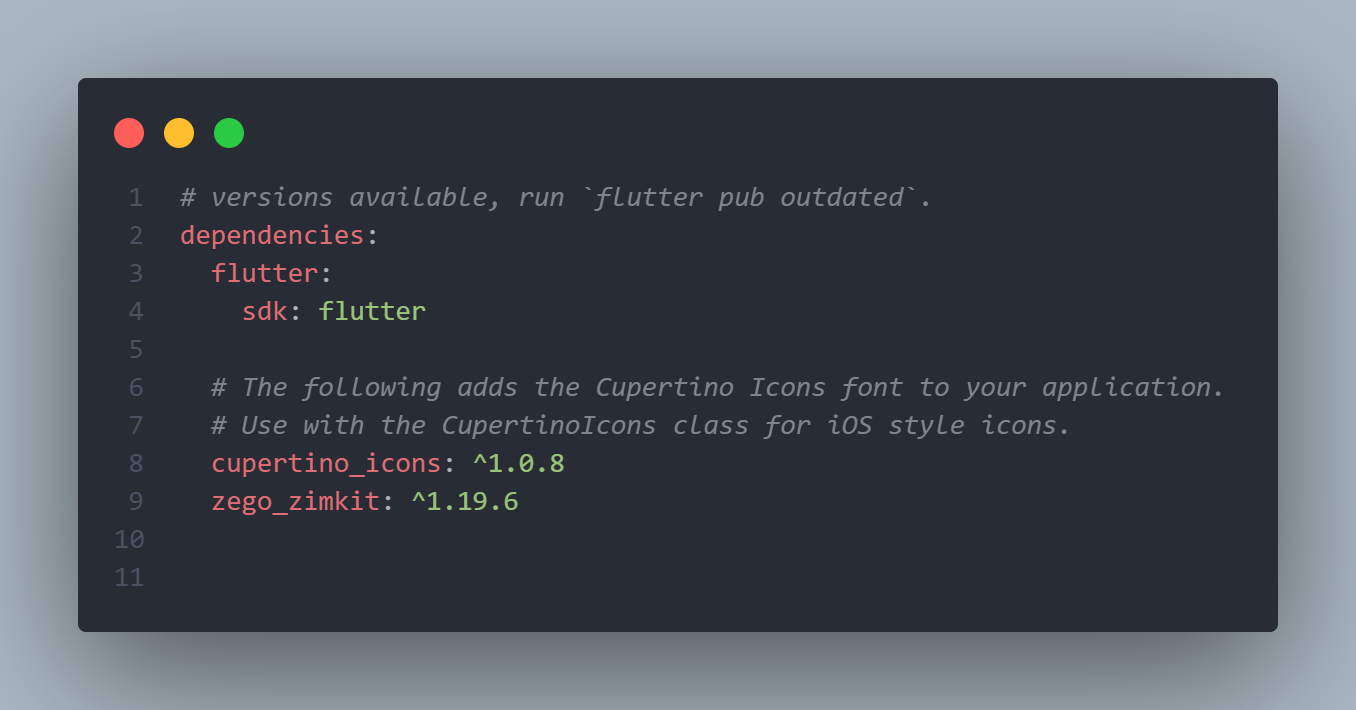
Then run:
flutter pub getStep 2 — Initialize the Chat SDK
Create a file for credentials, e.g. utils/app_string.dart.
⚠️ Never expose your AppSign in public repositories.
Required Android Configuration
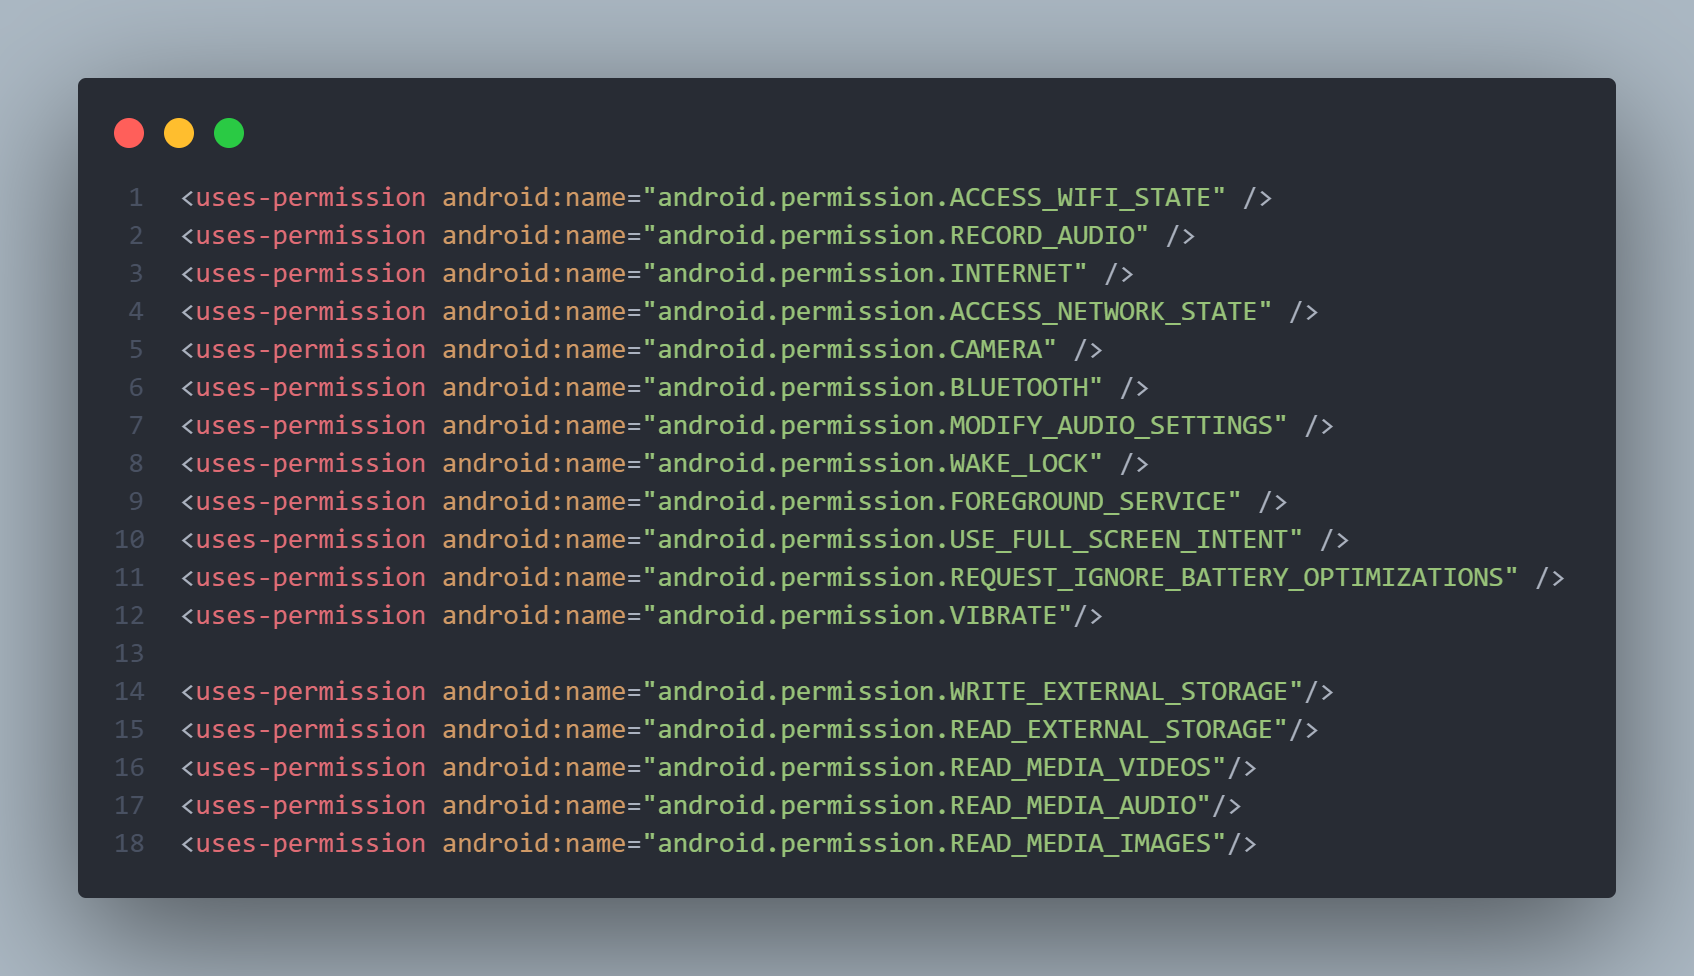
Permissions
Add the required permissions inside android/app/src/main/AndroidManifest.xml:
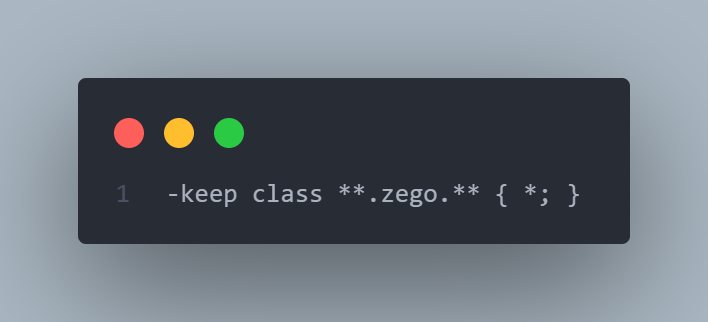
Proguard Rules (Release Mode)
Create or edit android/app/proguard-rules.pro:
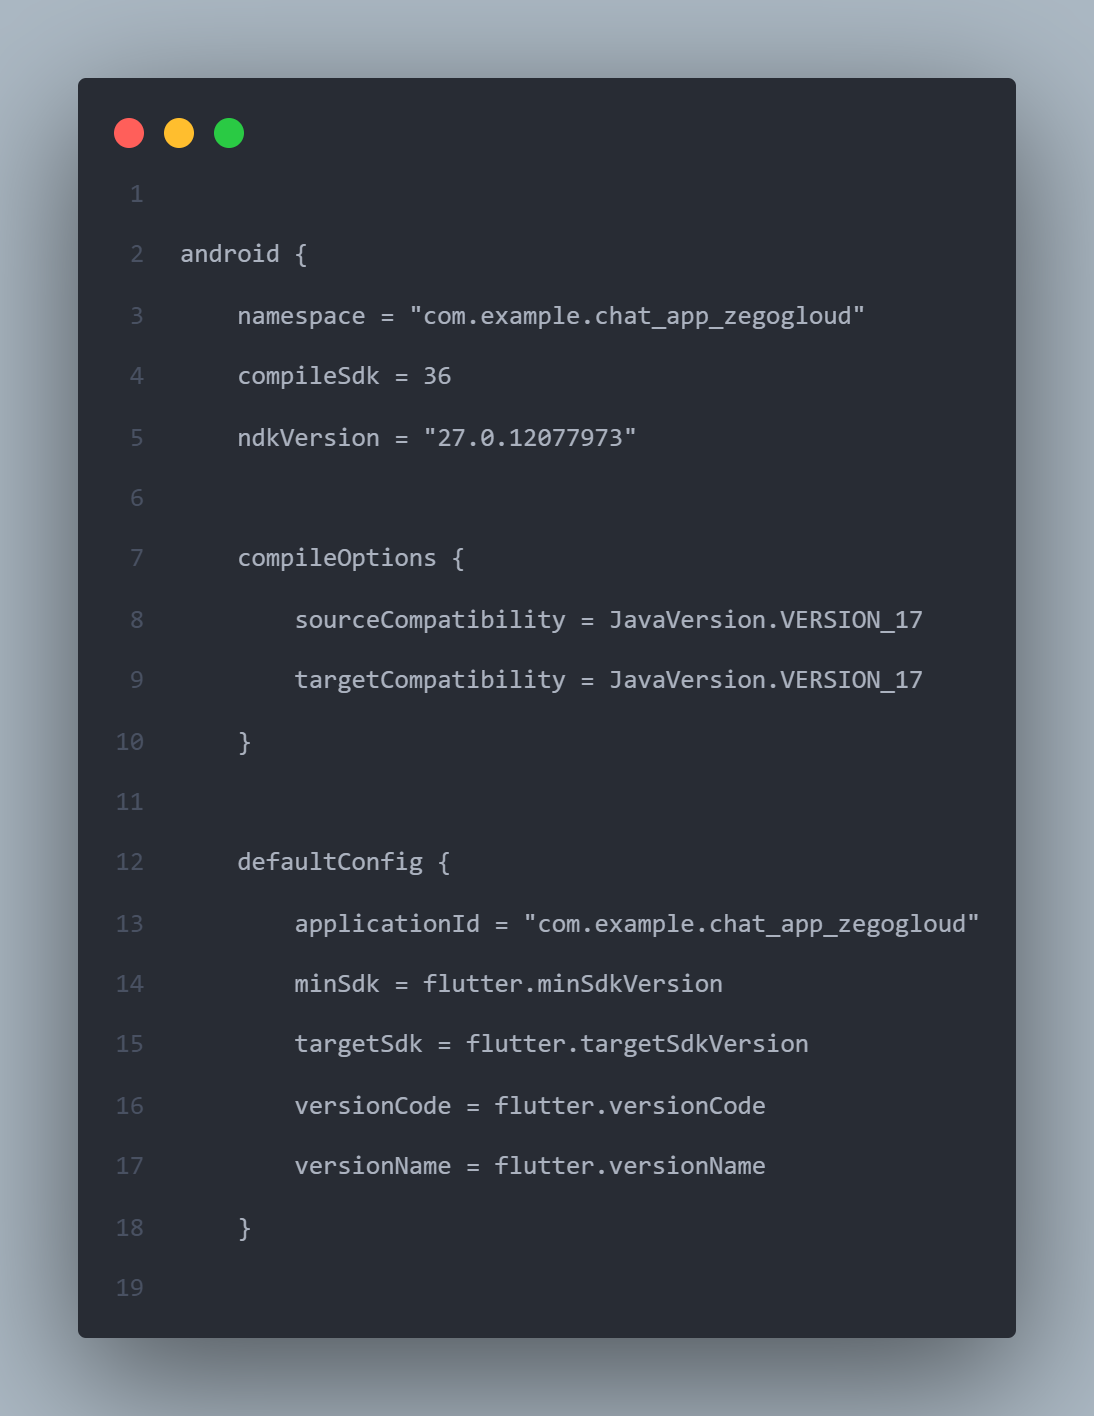
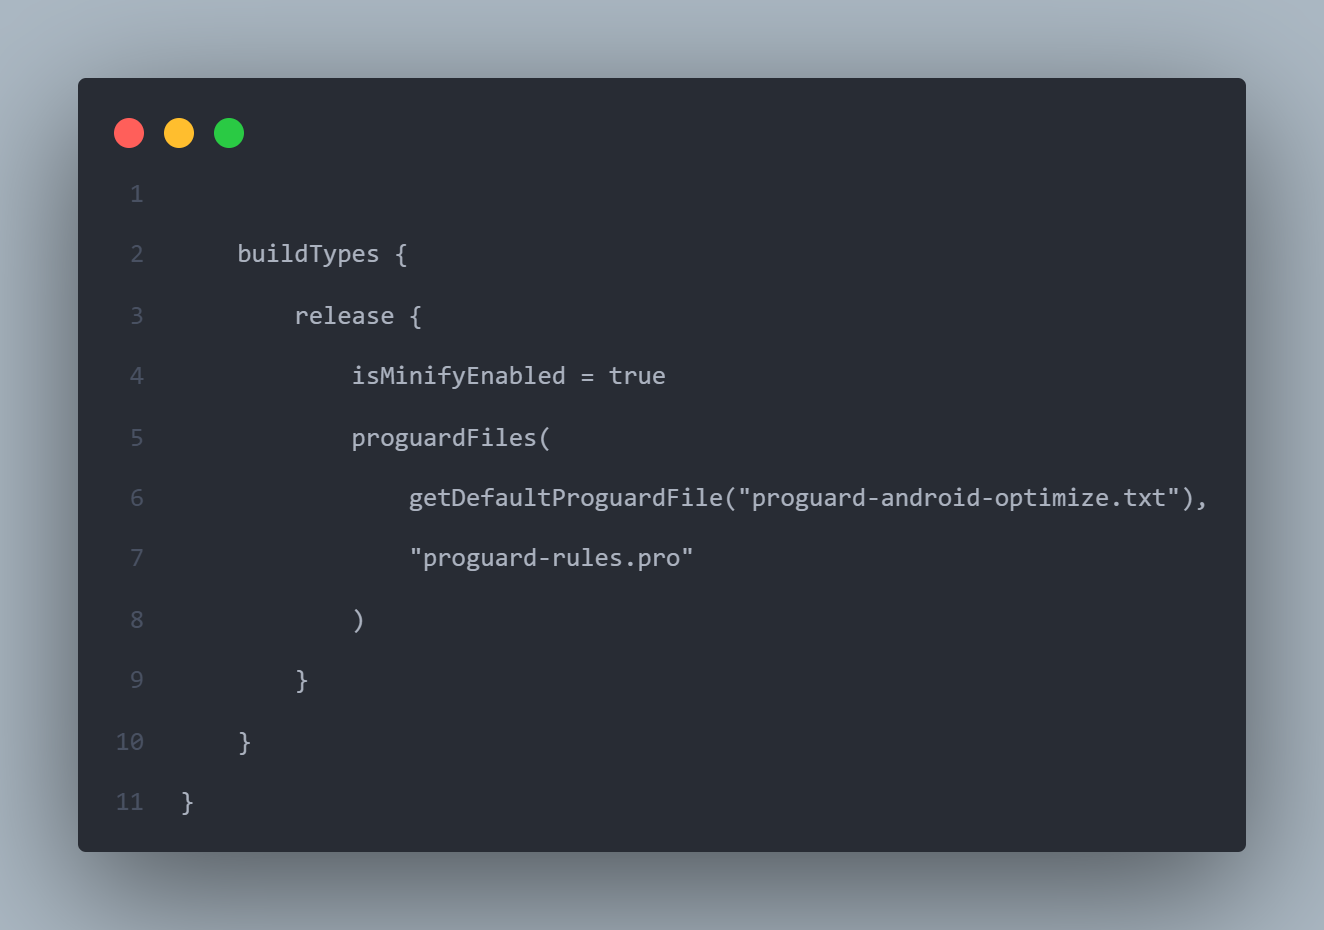
Build Gradle Config
Edit android/app/build.gradle and enable minify + proguard:
Step 3 — Initialize ZIMKit in main.dart
import 'package:chat_app_zegogloud/screens/login.dart';
import 'package:chat_app_zegogloud/utils/app_string.dart';
import 'package:flutter/material.dart';
import 'package:zego_zimkit/zego_zimkit.dart';

void main() async {
  WidgetsFlutterBinding.ensureInitialized();

  ZIMKit().init(appID: AppString.appID, appSign: AppString.appSign);
  runApp(const MyApp());
}

class MyApp extends StatelessWidget {
  const MyApp({super.key});

  @override
  Widget build(BuildContext context) {
    return MaterialApp(
      title: 'Zego Chat',
      theme: ThemeData(primarySwatch: Colors.blue),
      debugShowCheckedModeBanner: false,
      home: const LoginPage(),
    );
  }
}
Step 4 — Create Login Page
We authenticate users locally using userID and username—no backend needed.
screens/login.dart
import 'package:chat_app_zegogloud/screens/home.dart';
import 'package:flutter/material.dart';
import 'package:zego_zimkit/zego_zimkit.dart';

class LoginPage extends StatefulWidget {
  const LoginPage({super.key});

  @override
  State create() => _LoginPageState();
}

class _LoginPageState extends State {
  final userId = TextEditingController();
  final userName = TextEditingController();

  @override
  Widget build(BuildContext context) {
    return Scaffold(
      appBar: AppBar(title: const Text('Login to Chat')),
      body: SingleChildScrollView(
        padding: const EdgeInsets.all(16.0),
        child: Column(
          children: [
            TextField(
              controller: userId,
              decoration: const InputDecoration(labelText: 'User ID'),
            ),
            TextField(
              controller: userName,
              decoration: const InputDecoration(labelText: 'User Name'),
            ),
            const SizedBox(height: 20),
            ElevatedButton(
              onPressed: () {
                ZIMKit().connectUser(id: userId.text, name: userName.text);
                Navigator.of(context).push(
                  MaterialPageRoute(builder: (_) => const HomePage()),
                );
              },
              child: const Text('Login'),
            ),
          ],
        ),
      ),
    );
  }
}
Step 5 — Home Page with Conversation List
This page shows all private and group chats.
screens/home.dart
import 'package:chat_app_zegogloud/screens/login.dart';
import 'package:chat_app_zegogloud/screens/home_page_popUp.dart';
import 'package:flutter/material.dart';
import 'package:zego_zimkit/zego_zimkit.dart';

class HomePage extends StatefulWidget {
  const HomePage({super.key});

  @override
  State create() => _HomePageState();
}

class _HomePageState extends State {
  @override
  Widget build(BuildContext context) {
    return Scaffold(
      appBar: AppBar(
        title: const Text('Home Page'),
        actions: [
          IconButton(icon: const Icon(Icons.logout), onPressed: _handleLogout),
          const HomePagePopup(),
        ],
      ),
      body: ZIMKitConversationListView(
        onPressed: (context, conversation) {
          // Navigate to chat screen (implementation omitted for brevity)
        },
      ),
    );
  }

  void _handleLogout() {
    ZIMKit().logout();
    Navigator.of(context).pushReplacement(
      MaterialPageRoute(builder: (_) => const LoginPage()),
    );
  }
}
The rest of the UI (chat screen, group creation, etc.) follows the same pattern using ZIMKit widgets such as ZIMKitMessageListView and ZIMKitMessageInput. Adjust as needed for your app’s design.