Git and GitHub: A Beginner's Guide
Source: Dev.to


What is Git?
Git is a free, open‑source version‑control system that tracks every change you make to your files. Think of it as a “save system” that lets you keep multiple versions of your project.
Version control and its importance
Also known as source control or revision control, it is a system for tracking and managing files (especially code) over time.
Why is it essential?
- Safety net – Quickly roll back to a prior functional version if you make a mistake.
- Collaboration – Several people can work on the same files simultaneously; the system merges their modifications.
- Traceability – Every change is recorded with a timestamp, description, and author.
- Experimentation – Test new features without affecting the main project by creating a branch. If the branch succeeds, merge it; otherwise, discard it.
How to push code to GitHub
Step 1 – Create a local repository

git initCheck the status of the files you want to push:
git statusFiles that are not yet tracked appear in red.

Add all files to the staging area:
git add .Verify that the files are now staged (they appear in green):
git status
Commit the changes locally:
git commit -m "Project added"
Step 2 – Connect to the remote GitHub repository
Create a new repository on GitHub, copy its URL, then run:
git remote add origin <repository‑URL>Step 3 – Push the code
git push origin masterYou’ll be prompted to sign in to your GitHub account if you haven’t authenticated already.

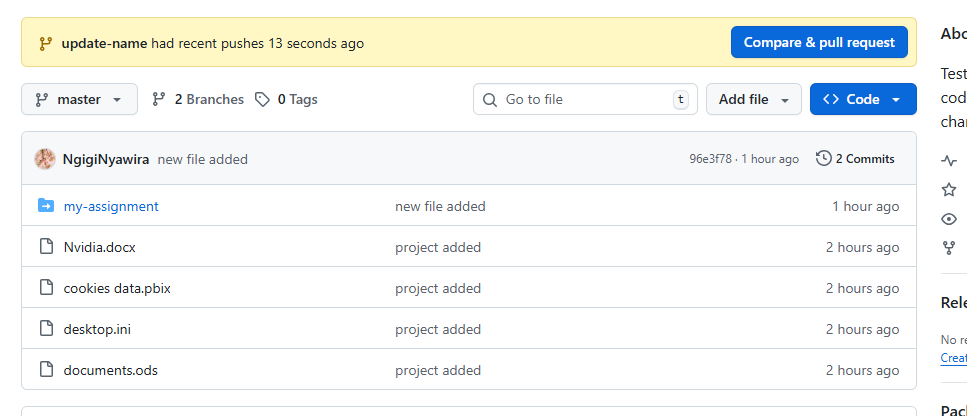
Below is an example of the files as they appear on GitHub:

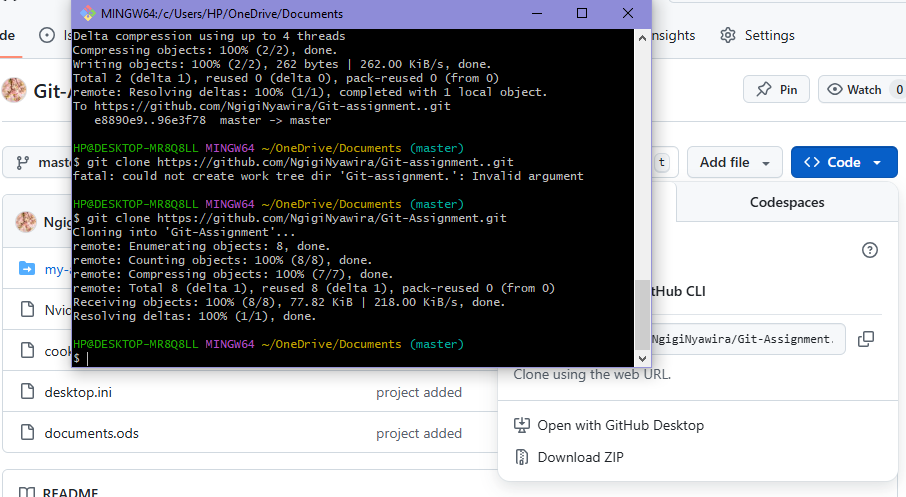
How to pull code from GitHub
Step 1 – Clone the repository
Navigate to the repository on GitHub, copy the HTTPS (or SSH) link, then run:
git clone <repository‑URL>
All commands above assume you are using a terminal (Git Bash, PowerShell, macOS Terminal, etc.) and that Git is already installed on your machine.
Step 1 – Open the Project Folder
cd Git-AssignmentStep 2 – Create a New Branch
git checkout -b update-nameStep 3 – Open the Repository in VS Code
code .Add your changes, then check the status:
git add .
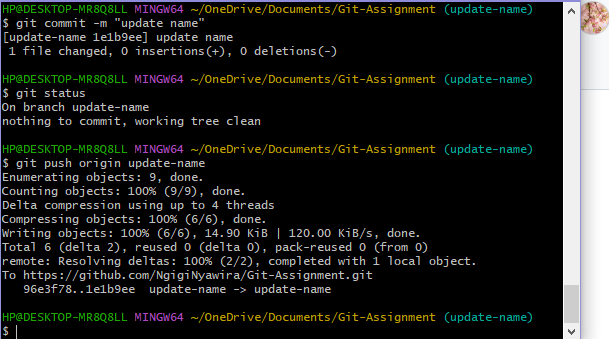
git statusStep 4 – Commit Your Changes
git commit -m "Brief description of what is changed"Step 5 – Push the Branch & Open a Pull Request
-
Push the new branch to GitHub
git push -u origin update-name -
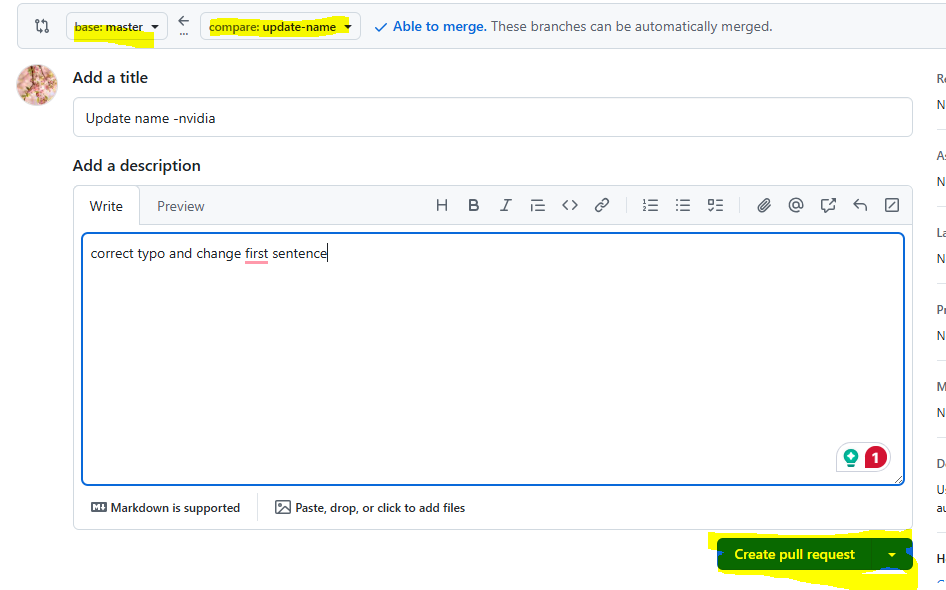
Navigate to your repository on GitHub and open a Pull Request.
Visual Guide
Opening the Project Folder
Creating a New Branch

Editing Files in VS Code
Opening a Pull Request
Tracking Changes with Git
Git works with three zones:
| Zone | Description |
|---|---|
| Working directory | Files you edit locally. Git sees them but isn’t tracking them yet. |
| Staging area | Files you flag for inclusion in the next commit. Use git add. |
| Repository | A permanent snapshot of everything in the staging area. Use git commit. |
Common Command Sequence
# See what’s happening (red files are untracked or modified)
git status

# Stage changes
git add .          # or `git add <file>` for specific files

# Record a snapshot
git commit -m "Brief description of what is changed"
Key Takeaways
git statusis your best friend. Run it after every command to see which files are tracked, staged, or ignored.- Use
git addto move changes from the working directory to the staging area. - Use
git committo create a permanent snapshot in the repository. - Always create a new branch for a feature or fix, then open a Pull Request to merge it back.