Deploying an AWS EKS Cluster Using Terraform: A Step-by-Step Guide
Source: Dev.to
In today’s cloud‑native landscape, Kubernetes has become the de‑facto standard for container orchestration, and Amazon Elastic Kubernetes Service (EKS) provides a managed Kubernetes service that simplifies cluster management. When combined with Terraform, HashiCorp’s Infrastructure‑as‑Code (IaC) tool, you can achieve reproducible, version‑controlled, and automated Kubernetes infrastructure deployment.
This comprehensive guide walks you through deploying a production‑ready AWS EKS cluster using Terraform, covering everything from initial setup to operational best practices.
Prerequisites
- AWS account with appropriate IAM permissions
- AWS CLI installed and configured
- Terraform (v1.0+) installed
kubectlfor Kubernetes cluster interaction- Basic understanding of AWS services, Kubernetes, and Terraform
Architecture Overview
Our deployment will create:
- A VPC with public and private subnets across multiple Availability Zones
- EKS control plane managed by AWS
- Managed node groups for worker nodes
- Necessary IAM roles and security groups
- Network components (NAT Gateway, Internet Gateway, Route Tables)
Efficient EKS Cluster Provisioning with Terraform’s Modular Design
This implementation employs a Terraform module containing pre‑defined configurations to simplify Amazon EKS cluster creation, demonstrating infrastructure‑as‑code efficiency.
Step 1 – Prepare Your Environment (Install Tools)
Terraform
brew install terraformAWS CLI
brew install awsclikubectl
brew install kubernetes-cliFor installation on other operating systems, see the official documentation:
- Terraform:
- AWS CLI:
- kubectl:
Step 2 – Configure AWS CLI Access
aws configureProvide the following when prompted:
- AWS Access Key ID
- AWS Secret Access Key
- Default region (e.g.,
us-east-1)
Terraform will use these credentials to create and manage your AWS resources.
Step 3 – Prepare the Code Environment
We’ll use the community‑maintained terraform-aws-modules/eks/aws module.
data "aws_availability_zones" "available" {}

resource "aws_vpc" "main" {
  cidr_block = "10.0.0.0/16"

  tags = {
    Name = "main-vpc-eks"
  }
}

resource "aws_subnet" "public_subnet" {
  count                    = 2
  vpc_id                   = aws_vpc.main.id
  cidr_block               = cidrsubnet(aws_vpc.main.cidr_block, 8, count.index)
  availability_zone        = data.aws_availability_zones.available.names[count.index]
  map_public_ip_on_launch = true

  tags = {
    Name = "public-subnet-${count.index}"
  }
}

resource "aws_internet_gateway" "main" {
  vpc_id = aws_vpc.main.id

  tags = {
    Name = "main-igw"
  }
}

resource "aws_route_table" "public" {
  vpc_id = aws_vpc.main.id

  route {
    cidr_block = "0.0.0.0/0"
    gateway_id = aws_internet_gateway.main.id
  }

  tags = {
    Name = "main-route-table"
  }
}

resource "aws_route_table_association" "a" {
  count          = 2
  subnet_id      = aws_subnet.public_subnet.*.id[count.index]
  route_table_id = aws_route_table.public.id
}

module "eks" {
  source  = "terraform-aws-modules/eks/aws"
  version = "~> 20.31"

  cluster_name    = "sage-nodes"
  cluster_version = "1.31"

  # Optional – public endpoint access
  cluster_endpoint_public_access = true

  # Grants the current caller identity admin permissions via a cluster access entry
  enable_cluster_creator_admin_permissions = true

  eks_managed_node_groups = {
    sage-nodes = {
      instance_types = ["t3.medium"]
      min_size       = 1
      max_size       = 3
      desired_size   = 2
    }
  }

  vpc_id     = aws_vpc.main.id
  subnet_ids = aws_subnet.public_subnet.*.id

  tags = {
    Environment = "dev"
    Terraform   = "true"
  }
}
Step 4 – Apply the Terraform Configuration
-
Initialize the working directory (downloads provider plugins and modules):
terraform init -
Generate and review an execution plan:
terraform plan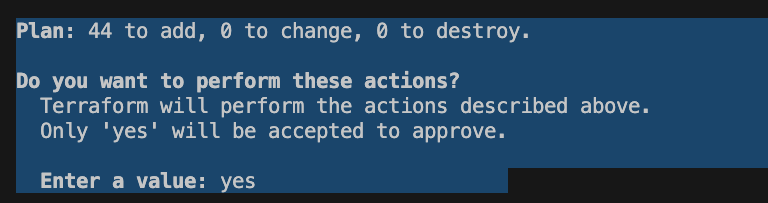
-
Apply the plan (creates the resources):
terraform applyAfter confirming, wait a few minutes for all resources to be provisioned.


Next Steps
- Configure
kubectlto use the new cluster (aws eks update-kubeconfig --name sage-nodes). - Deploy workloads (e.g., sample nginx deployment).
- Set up monitoring (CloudWatch, Prometheus) and logging (Fluent Bit, Loki).
- Implement CI/CD pipelines (GitHub Actions, GitLab CI) to automate future changes.
Step 5 – Configure kubectl Access
Run the following command:
aws eks --region us-east-1 update-kubeconfig --name example
Verify that the login to the cluster was successful:
kubectl config current-context
Step 6 – Manage the Cluster
View all nodes in the cluster:
kubectl get nodes
Deploy an NGINX instance to validate the cluster:
kubectl run --port 80 --image nginx nginxCheck its status:
kubectl get pods
Establish a tunnel from your local environment to the pod:
kubectl port-forward nginx 3000:80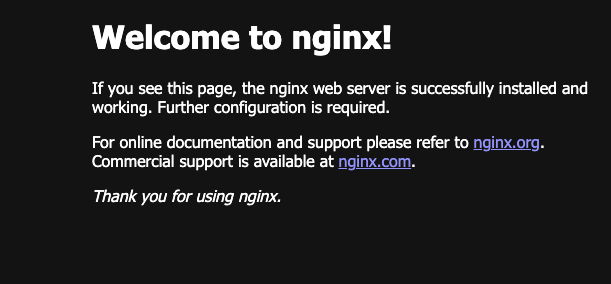
Step 7 – Resource Cleanup
terraform destroyNote: Ensure you destroy the created resources to avoid incurring large AWS bills.
Conclusion
By completing this guide, you’ve established a production‑ready AWS EKS cluster deployment using Terraform’s infrastructure‑as‑code approach. This foundation enables consistent, version‑controlled Kubernetes infrastructure management across all environments.
Chidubem Chinwuba is a dedicated Cloud/DevOps Engineer with a deep passion for technology and its transformative potential across industries. He is driven by his aspiration to make a meaningful impact in the Cloud/DevOps domain and looks forward to continuing his professional growth while contributing to projects that shape the future of technology.