->> Day-20 Terraform Custom Modules for EKS - From Zero to Production
Source: Dev.to
Why use Amazon EKS?
- Managed control plane – No need to run your own etcd or master nodes.
- Native AWS integration – IAM, VPC, CloudWatch, EC2, ECR and more.
- Secure by default – Runs in a dedicated, isolated VPC.
- Scalable & production‑ready – High availability, automatic patching, and built‑in scaling.
What our setup includes
| Module | Purpose |
|---|---|
| VPC | Creates a network with public & private subnets across 3 AZs. |
| IAM | Creates cluster roles, node roles, and an OIDC provider for Kubernetes‑AWS integration. |
| ECR | Provides a container registry for Docker images. |
| EKS | Provisions the EKS control plane and worker nodes in private subnets. |
| Secrets Manager | Stores optional database, API, and application configuration secrets. |
High‑level architecture
- VPC – 3 Availability Zones (AZs) for high availability.
- Subnets – Each AZ contains a public and a private subnet.
- Worker nodes – EC2 instances launched in private subnets for better security.
- NAT Gateway – Deployed in a public subnet; allows private‑subnet nodes to pull images and updates from the internet (ECR, Docker Hub, etc.).
- Internet Gateway – Provides external users access to the Kubernetes LoadBalancer service for the demo website.
- IAM roles & OIDC provider – Enable pod‑level permissions through IRSA (IAM Roles for Service Accounts).
- KMS encryption – Secures the etcd database at rest on the EKS control plane.
This design ensures that nodes are not directly exposed to the internet while still having outbound internet access via the NAT gateway.
Custom VPC Module
module "vpc" {
  source = "./modules/vpc"

  name_prefix      = var.cluster_name
  vpc_cidr         = var.vpc_cidr
  azs              = slice(data.aws_availability_zones.available.names, 0, 3)
  private_subnets = var.private_subnets
  public_subnets   = var.public_subnets

  enable_nat_gateway = true
  single_nat_gateway = true

  # Required tags for EKS
  public_subnet_tags = {
    "kubernetes.io/role/elb"                    = "1"
    "kubernetes.io/cluster/${var.cluster_name}" = "shared"
  }

  private_subnet_tags = {
    "kubernetes.io/role/internal-elb"           = "1"
    "kubernetes.io/cluster/${var.cluster_name}" = "shared"
  }

  tags = {
    Environment = var.environment
    Terraform   = "true"
    Project     = "EKS-Cluster"
  }
}
What it creates
- VPC with CIDR 10.0.0.0/16
- 3 public subnets (10.0.1.0/24, 10.0.2.0/24, 10.0.3.0/24) for NAT & Internet Gateways
- 3 private subnets (10.0.11.0/24, 10.0.12.0/24, 10.0.13.0/24) for EKS nodes
- Single NAT Gateway (cost‑optimized)
- Internet Gateway for public internet access
- ~20 total resources
Custom IAM Module
module "iam" {
  source = "./modules/iam"

  cluster_name = var.cluster_name

  tags = {
    Environment = var.environment
    Terraform   = "true"
    Project     = "EKS-Cluster"
  }
}
What it creates
- EKS cluster IAM role with necessary permissions
- EC2 node IAM role for worker nodes
- OIDC provider for Kubernetes‑AWS integration
- IRSA (IAM Roles for Service Accounts) configuration
- Inline policies for EKS and node permissions
- 7 total resources
Custom EKS Module
module "eks" {
  source = "./modules/eks"

  cluster_name       = var.cluster_name
  kubernetes_version = var.kubernetes_version
  vpc_id              = module.vpc.vpc_id
  subnet_ids          = module.vpc.private_subnets

  cluster_role_arn = module.iam.cluster_role_arn
  node_role_arn    = module.iam.node_group_role_arn

  endpoint_public_access  = true
  endpoint_private_access = true
  public_access_cidrs     = ["0.0.0.0/0"]

  enable_irsa = true

  # Node groups configuration
  node_groups = {
    general = {
      instance_types = ["t3.medium"]
      desired_size   = 2
      min_size       = 2
      max_size       = 4
      capacity_type  = "ON_DEMAND"
      disk_size      = 20

      labels = {
        role = "general"
      }

      tags = {
        NodeGroup = "general"
      }
    }

    spot = {
      instance_types = ["t3.medium", "t3a.medium"]
      desired_size   = 1
      min_size       = 1
      max_size       = 3
      capacity_type  = "SPOT"
      disk_size      = 20

      labels = {
        role = "spot"
      }

      taints = [{
        key    = "spot"
        value  = "true"
        effect = "NO_SCHEDULE"
      }]

      tags = {
        NodeGroup = "spot"
      }
    }
  }

  tags = {
    Environment = var.environment
    Terraform   = "true"
    Project     = "EKS-Cluster"
  }

  depends_on = [module.iam]
}
What it creates
- EKS control plane (Kubernetes v1.31)
- 4 worker node groups
- 2 on‑demand groups (
general) – total desired capacity 4 nodes - 1 spot group (
spot) – cost‑optimized capacity
- 2 on‑demand groups (
- All nodes run in private subnets with internet access via the NAT gateway
Summary
This Terraform‑driven foundation gives you a highly available, secure, and cost‑effective EKS environment on AWS:
- Network – Multi‑AZ VPC with public & private subnets, NAT, and IGW.
- Security – IAM roles, OIDC, IRSA, KMS‑encrypted etcd, no public node exposure.
- Scalability – Managed control plane, autoscaling node groups (on‑demand & spot).
Next steps will cover deploying a sample application, configuring CI/CD pipelines, and adding observability tooling. Stay tuned!
Security Groups and Node Security Groups
CloudWatch Logging Configuration
Add‑ons
- CoreDNS
- kube‑proxy
- VPC CNI
- EBS CSI
KMS Encryption for etcd
Total resources: 17
Container Registry for Storing and Managing Docker Images
module "ecr" {
  source = "./modules/ecr"

  repository_name = "demo-website"

  tags = {
    Environment = var.environment
    Terraform   = "true"
    Project     = "EKS-Cluster"
  }
}
What it creates
- Elastic Container Registry repository
- Image scanning on push
- Lifecycle policies for image retention
Total resources: 1
Secrets Manager – Securely Store Sensitive Data (Optional)
module "secrets_manager" {
  source = "./modules/secrets-manager"

  name_prefix = var.cluster_name

  # Enable secrets as needed
  create_db_secret          = var.enable_db_secret
  create_api_secret         = var.enable_api_secret
  create_app_config_secret  = var.enable_app_config_secret

  # Database credentials (if enabled)
  db_username = var.db_username
  db_password = var.db_password
  db_engine   = var.db_engine
  db_host     = var.db_host
  db_port     = var.db_port
  db_name     = var.db_name

  # API keys (if enabled)
  api_key    = var.api_key
  api_secret = var.api_secret

  # App config (if enabled)
  app_config = var.app_config

  tags = {
    Environment = var.environment
    Terraform   = "true"
    Project     = "EKS-Cluster"
  }
}
What it creates
- Optional database secrets
- Optional API secrets
- Optional application‑configuration secrets
Total resources: 0‑3 (optional)
Architecture Overview
- VPC module – creates a network with public and private subnets.
- EKS module – provisions the EKS control plane and worker nodes in private subnets.
- IAM module – creates cluster roles, node roles, and an OIDC provider for Kubernetes‑AWS integration.
- ECR module – creates a container registry to store and manage Docker images.
- Secrets Manager module – stores optional database, API, and application‑configuration secrets.
Deployment Steps
Step 1 – Initialize Terraform
cd terraform
terraform init
Downloads the required Terraform providers and initializes the working directory.
Step 2 – Review the Plan
terraform planShows all 45 resources that will be created.
Step 3 – Apply Configuration
terraform applyResult
Apply complete! Resources: 45 added, 0 changed, 0 destroyed.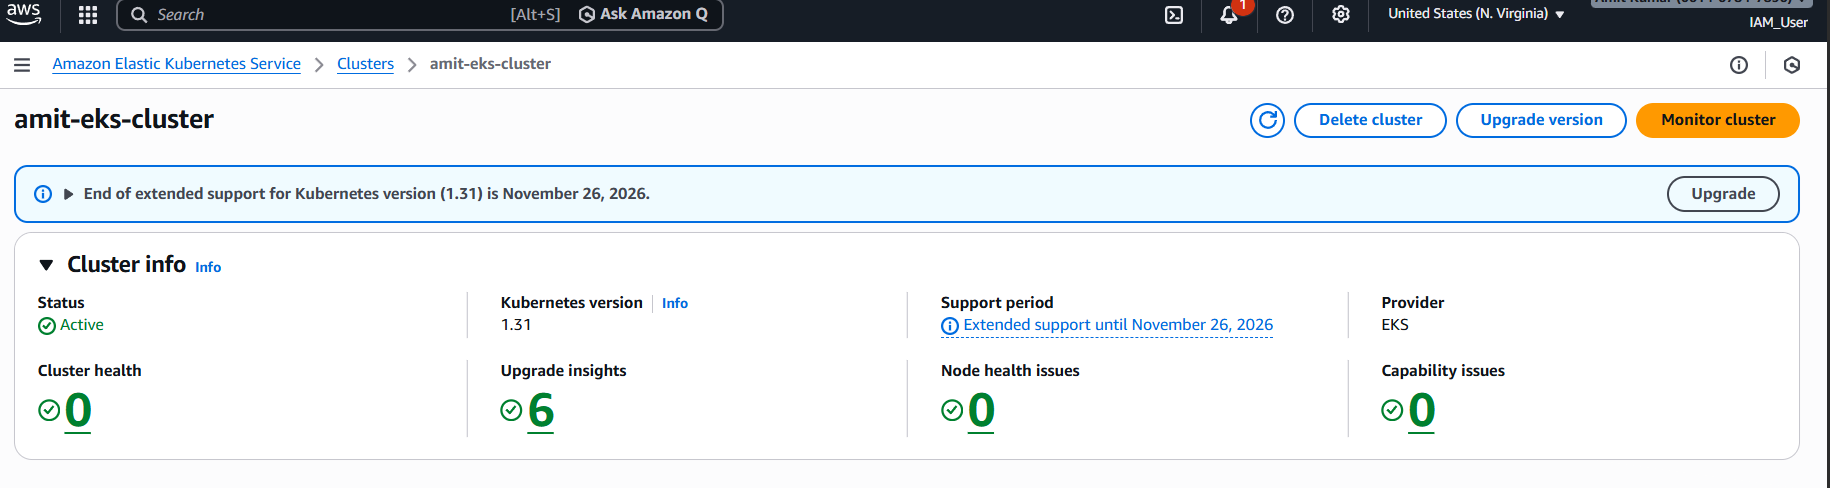

Step 4 – Configure kubectl
terraform output -raw configure_kubectlRun the printed aws eks update-kubeconfig command to connect kubectl to your cluster.
Step 5 – Deploy Demo Application
# Build Docker image
cd ../demo-website
docker build -t demo-website:latest .

# Get ECR login command
cd ../terraform
$(terraform output -raw ecr_login_command)

# Tag and push to ECR
docker tag demo-website:latest <account-id>.dkr.ecr.us-east-1.amazonaws.com/demo-website:latest
docker push <account-id>.dkr.ecr.us-east-1.amazonaws.com/demo-website:latest
Deploy to Kubernetes
cd ../demo-website
kubectl apply -f deployment.yaml
kubectl apply -f service.yaml
Get LoadBalancer URL
kubectl get svc demo-website -o wideSample output
NAME           TYPE           CLUSTER-IP    EXTERNAL-IP                                        PORT(S)        AGE
demo-website   LoadBalancer   172.20.0.1    a1234567890.elb.us-east-1.amazonaws.com           80:31234/TCP   45s
Verify Pods
kubectl get podsNAME READY STATUS RESTARTS AGE
demo-website-5d9c8d7f6-2m4kl 1/1 Running 0 30s
demo-website-5d9c8d7f6-7p9q2 1/1 Running 0 30sAccess the demo website via the LoadBalancer URL!
Clean‑Up
# Delete Kubernetes resources
kubectl delete svc demo-website
kubectl delete deployment demo-website

# Destroy infrastructure
cd terraform
terraform destroy -auto-approve
Summary
We’ve successfully set up a production‑grade Kubernetes cluster on AWS using custom Terraform modules. Building our own modules gave us full control over:
- Networking (VPC, subnets)
- Compute (EKS control plane & worker nodes)
- Security (IAM roles, security groups, KMS encryption)
- Container registry (ECR)
- Secrets management (AWS Secrets Manager)
References
- GitHub Repo – link to repository
- AWS EKS Documentation – link
- Terraform AWS Provider – link
Connect With Me
If you enjoyed this post or want to follow my #30DaysOfAWSTerraformChallenge journey, feel free to connect:
- 💼 LinkedIn: Amit Kushwaha
- 🐙 GitHub: Amit Kushwaha
- 📝 Hashnode: Amit Kushwaha
- 🐦 Twitter/X: @AmitKushwaha
Found this helpful? Drop a ❤️ and follow for more AWS and Terraform tutorials!
Questions? Drop them in the comments below! 👇
Happy Terraforming and Deploying!