Azure Management Series — Managing Tags & Locks in Azure
Source: Dev.to
Introduction
Having completed the previous exercises, you’ve managed to add a subnet to a virtual network, made changes to a virtual machine, and worked with an Azure storage account.
As your Azure environment grows, keeping resources organized and protected becomes essential. Tags help you track metadata such as cost centers, owners, and environments—while locks ensure that important resources cannot be accidentally deleted or modified.
In this post, you’ll learn how to apply tags, manage resource locks, and strengthen governance across your Azure resources, building on the work you completed in the previous exercises.
Step‑By‑Step Guide
Add a Tag to a Resource
-
Log in to Azure Portal.
-
Select Virtual machines under Services.
-
Choose the guided-project-vm virtual machine.
-
From the left menu, select Tags.
-
Click + Add and add the following tags:
-
Name:
Department
Value:Customer Service -
Name:
Purpose
Value:FTP Server

-
-
Click Save, then Apply.
Your resource now has metadata attached for easier tracking and reporting.
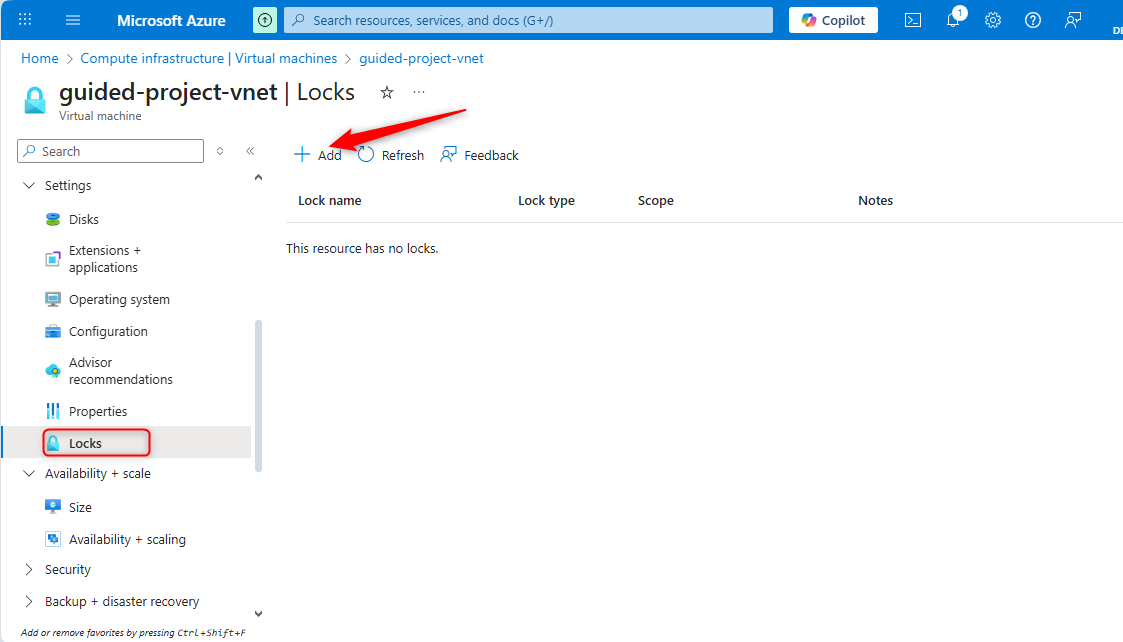
Create a Resource Lock
-
In the virtual machine’s settings, expand the Settings submenu.
-
Select Locks.
-
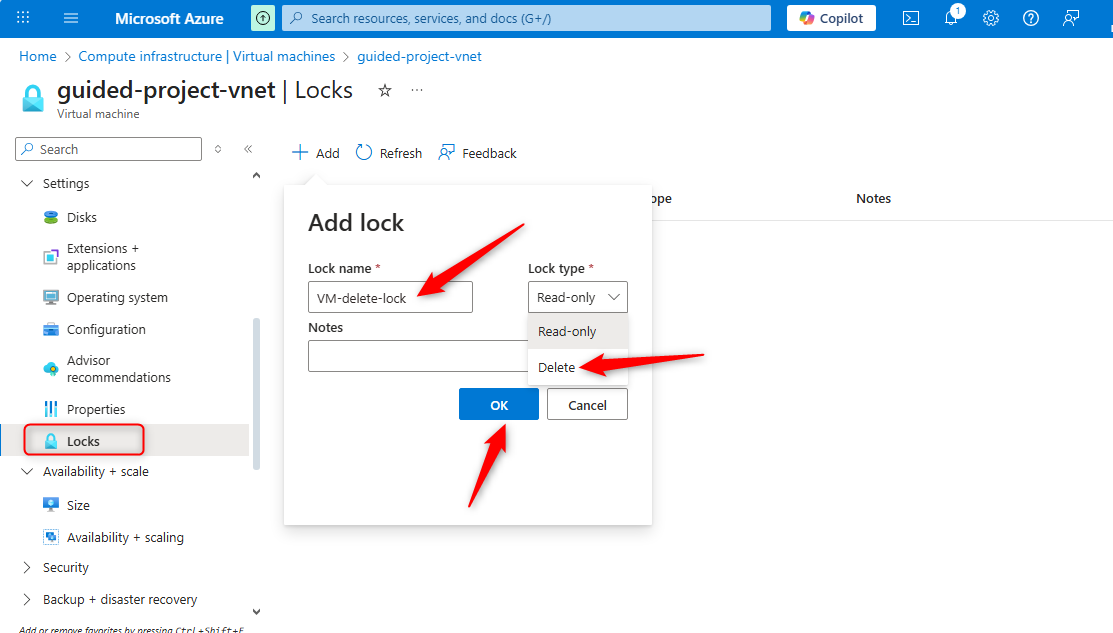
Click + Add.
-
Fill in the details:
- Name:
VM-delete-lock - Lock type:
Delete - (Optional) Add a note explaining the purpose of the lock.
- Name:
-
Click OK.
Now the virtual machine cannot be deleted until the lock is removed.
Test the Lock
- Open the storage account associated with the VM.
- Select Delete.
- You’ll receive an error because the resource is locked.
- Cancel the operation – the lock works as expected.
The VM is protected from deletion and has tags assigned to help track usage.
Add Tags to Network Resources
-
Return to the Azure portal home page.
-
In the search box, type Virtual networks and select it under Services.
-
Choose the guided-project-vnet network.
-
From the menu pane, select Tags.
Note: You can select an existing tag to apply or add a new one. You may also enter just the name or value and create the missing counterpart.
-
Add the tag:
- Name:
Department - Value:
IT
- Name:
-
Click Apply.

Both the VNet and VM are now organized with consistent tagging.
Conclusion
Great work! You’ve improved governance in your Azure environment by using tags for organization and locks for protection. These steps make resource management more scalable and secure—especially in environments with multiple admins or large deployments.
Next up: Cleaning Up Azure Resources Safely and Efficiently.